Standard options and upgrades for Lancer X
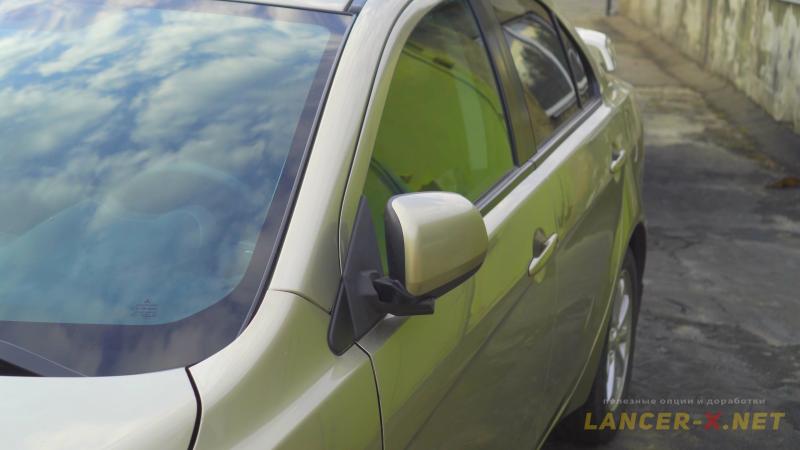
Powerfold mirrors on Lancer X
Let us implement the function of powerfold and unfold mirrors, lay the missing wiring, and also activate the mirrors folding in the Etacs unit.

Lancer-X.net
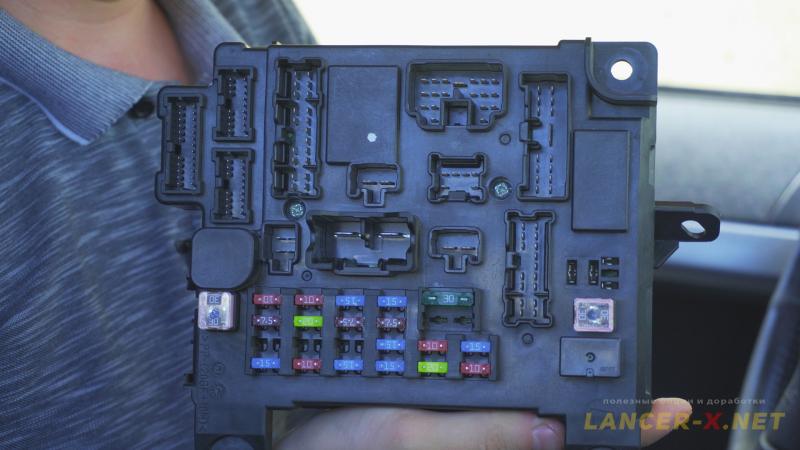
In previous article, I successfully installed a new Etacs unit 8637A644, which supports the maximum number of functions. And most of you guessed straight away why I am changing this unit. It was done for implementation of standard mirrors folding, as there are all necessary for this function pins and relays in new unit.
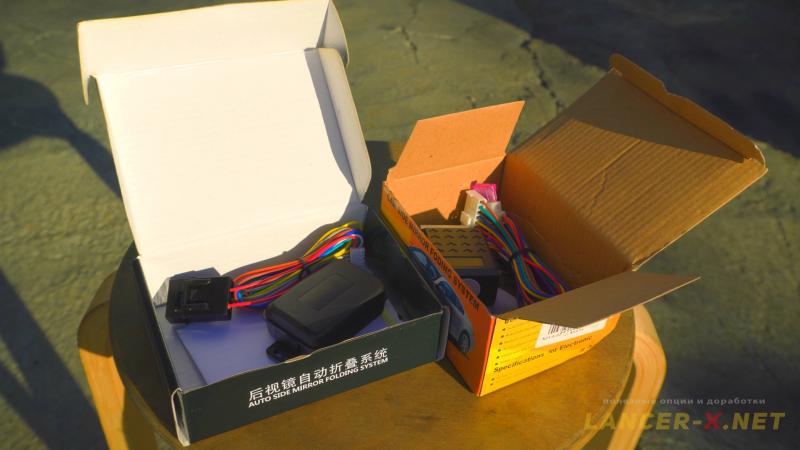 Generally, one can implement the mirrors folding using the special folding units from aliexpress and I even have bought it. But in my opinion, the standard way of mirrors folding implementation is the most optimal, that is why I will stick to it.
For easy reference, this instruction is represented in 2 versions: text and video at the end.
For short, the whole procedure will be divided into 4 general steps:
- revision of mirrors folding mechanisms.
- buildup missing wiring.
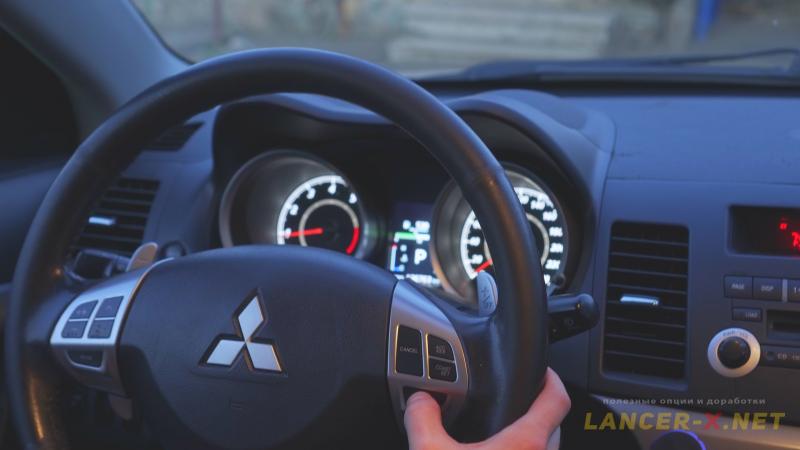
- installation of mirrors folding button.
- activating of mirrors folding in Etacs unit.
Revision of powerfold mirrors on Lancer X
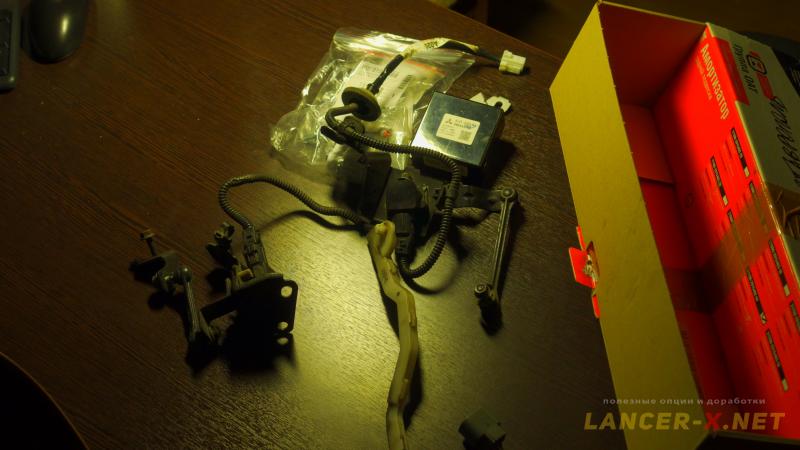
In Russia the mirrors folding option on Lancer X due to some reason was completely absent. Therefore, I bought assembled mirrors from the right-hand drive Mitsubishi Lancer X (Galant Fortis in Japan).
Sometimes folding mechanisms without cases are sold separately, but rarely, and the price is not very different.
But unfortunately, it is impossible to simply install the mechanisms and make them work immediately.
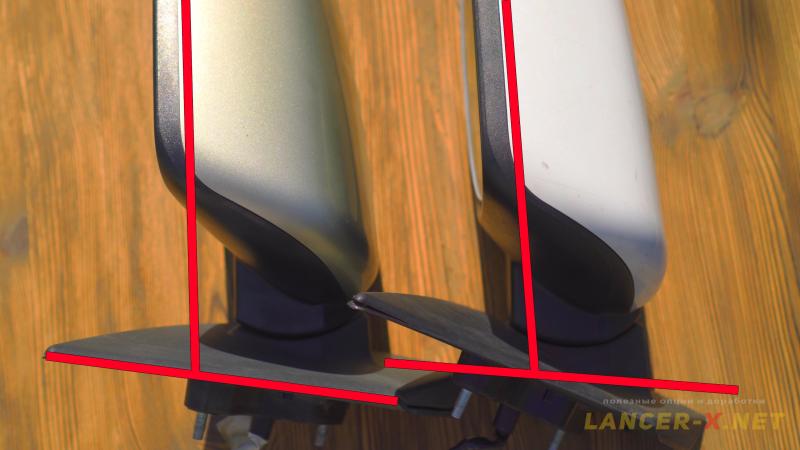 The mechanisms themselves are installed bolt into bolt, but due to the difference in the angle of the supports, the mirrors from the right-hand drive car will not fold correctly, so these mechanisms will have to be slightly modified.
To do this, you need to disassemble the mirrors and remove the mechanisms.
Mirrors dismantling on Lancer X
 Gently pry off the lower part of the mirror and pull it towards you, after which it unlatches. Do not pull strongly, as you can cut off the mirror heating wires.
 Make marks on the heating wires and on the mirror, so that later we can connect it in initial position.
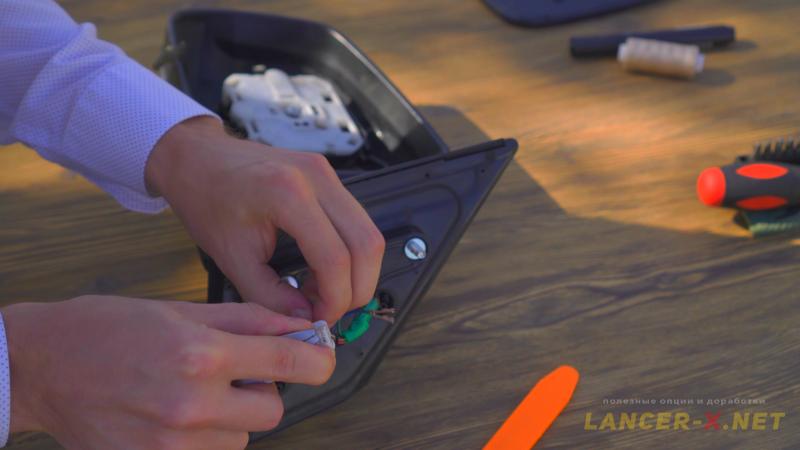 Remember the position of the wires in the connector. Next, it is necessary to remove the connector from the wires, pry the wire clamp with a screwdriver and carefully remove each wire with a needle. This procedure took me a lot of time.
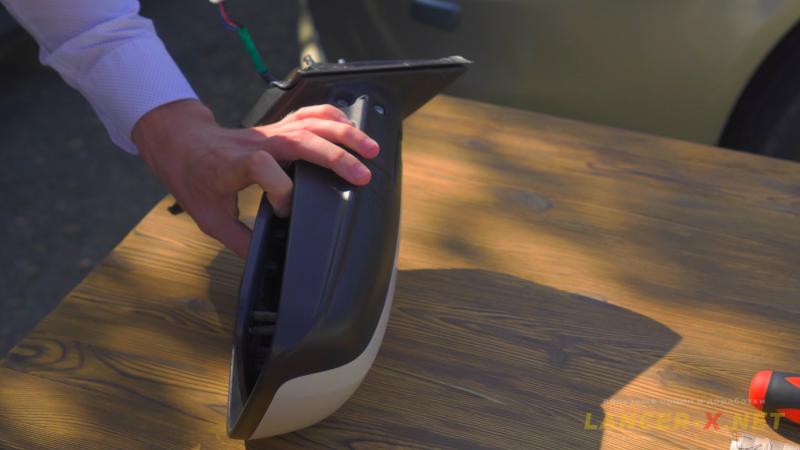
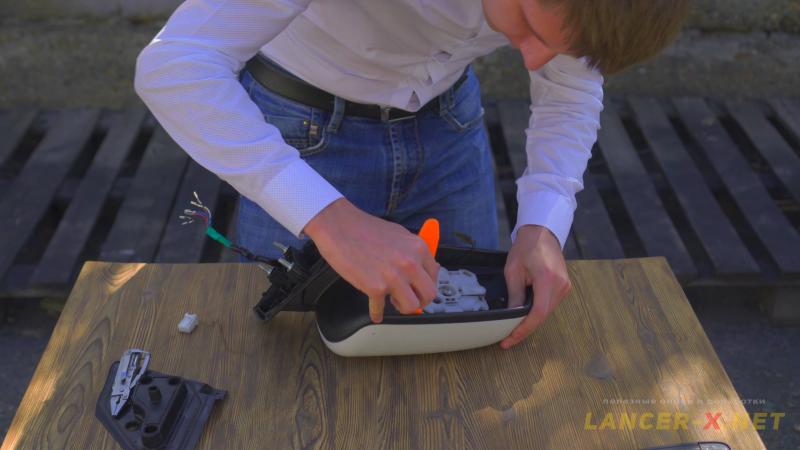 Now we remove the mirror cover, it stands on the clips, pry them off, and the cover is removed.
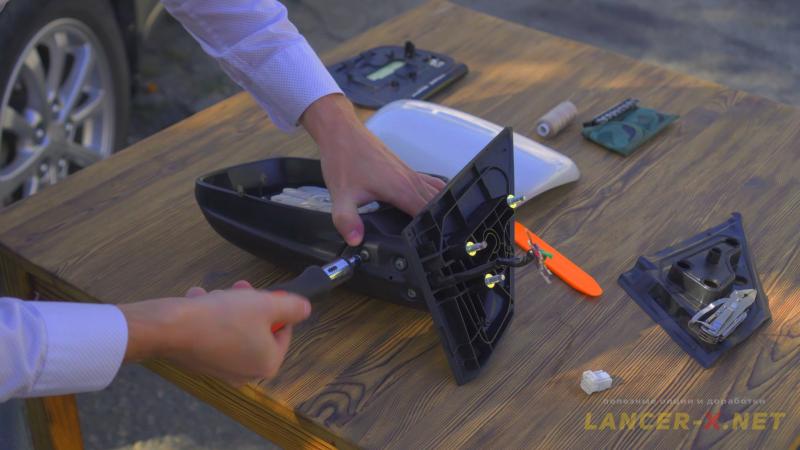 Unscrew the mirror bracket, it is fastened with 3 screws. Remove the plastic protection, it also fastened on 2 latches.
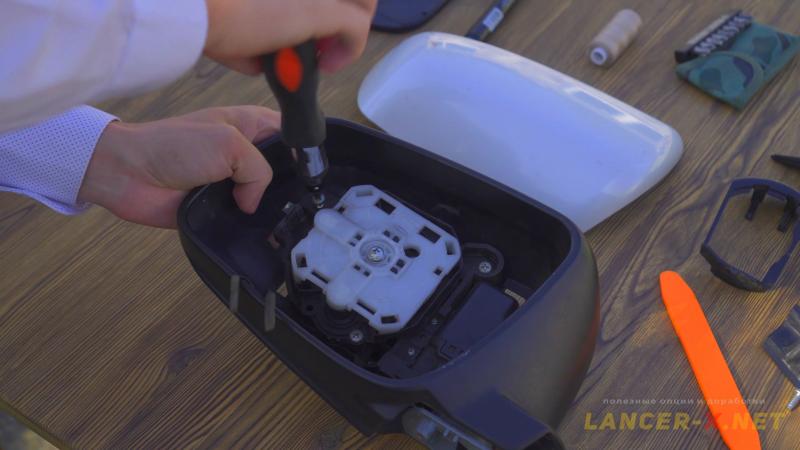 Unscrew the folding mechanism, it is fastened by 2 screws inside the mirror, 1 screw outside the mirror and 1 screw in the area of attachment to the support and the exit of the wires.
Revision of mirrors folding mechanisms
Now finalize the withdrawn mechanisms. On the left, it is necessary to grind off 4 mm, and on the right, on the contrary, to increase 4 mm. And grind off 1 protrusion on the metal part so that these mechanisms fit into the mirror housings from my car.
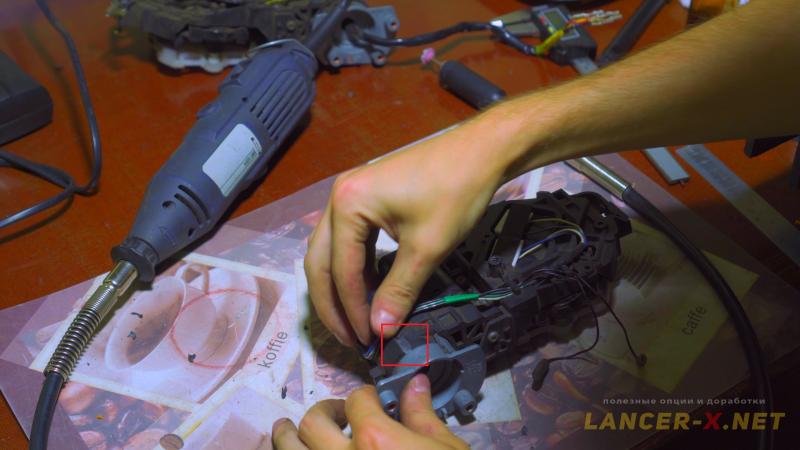 Grind off the left mechanism on 4 mm. using a rasp, boring machine or electric sharpener.
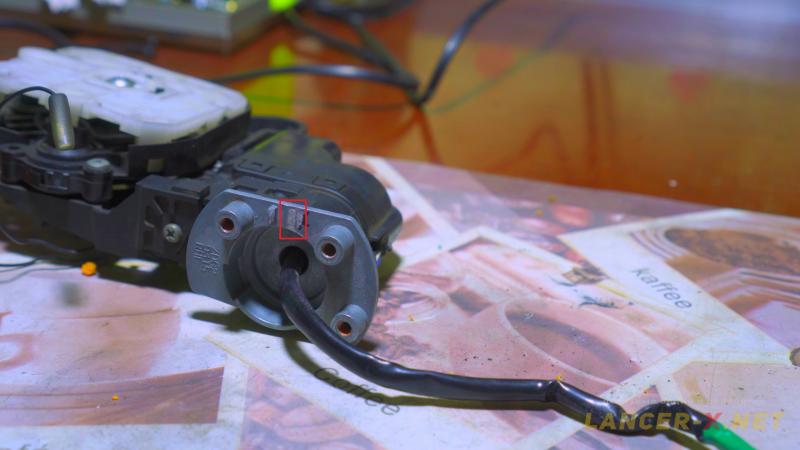 Grind off that protrusion on the left mechanism
 On the right mechanism, increase 4 mm. using super glue and a piece of plastic in size.
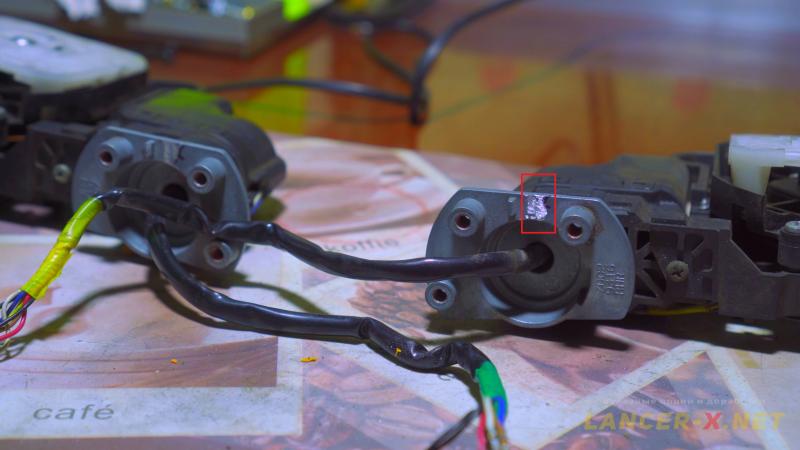 Grind off that protrusion on the right mechanism
After that, remove the mirrors from our car, disassemble them and install the modified mechanisms.
Buildup missing wiring for powerfold mirrors on Lancer X
As you will have realized, as Lancer X was not equipped with an powerfold mirrors option for Russia, it means that there is no wiring.
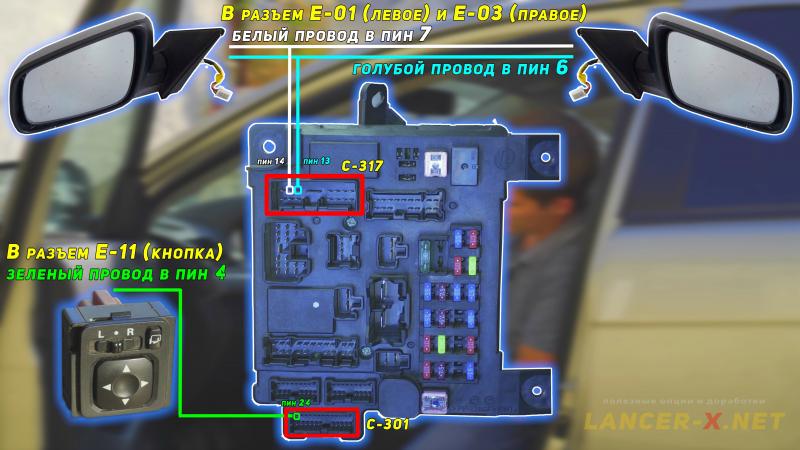 But we can fix it, it is necessary to buildup only 3 wires. For short, the connection circuit will look as follows.
From the C-301 connector (pin 24) lead the wire to the button in the door, the E-11 connector (pin 4).
From the C-317 connector (pins 13 and 14) lead the wires to the left mirrors E-01 connectors (pins 6 and 7) and E-03 right (pins 6 and 7).
Later I will describe the length of the wires.
The wires themselves can be laid directly from the Etacs unit to the mirrors and buttons. But I will lay, as expected, through the door connectors in the area of the kick-panel of the left (C-126) and right (C-112) doors.
Wires and pins I took from donor wiring. Something I had to solder by myself. Therefore, I immediately prepared the wires with a small margin in length.
The wires length for button connection
Green wire.
1. From the Etacs C-301 connector (pin 24) to the door connector of the left door C-126 (pin 10)
length - 0,85 m.
Green wire.
2. From the door connector of the left door C-126 (pin 10) to the connector of the button in the door E-11 (pin 4)
length - 1,60 m.
The wires length for connection the left mirror
Blue wire.
1. From the Etacs C-317 connector (pin 13) to the door connector of the left door C-126 (pin 18)
length - 0,6 m.
White wire.
2. From the Etacs C-317 connector (pin 14) to the door connector of the left door C-126 (pin 17)
length - 0,6 m.
Blue wire.
3. From the door connector of the left door C-126 (pin 18) to the connector of the left mirror E-01 (pin 6)
length - 1,90 m.
White wire.
4. From the door connector of the left door C-126 (pin 17) to the connector of the left mirror E-01 (pin 7)
length - 1,90 m.
The wires length for connection the right mirror
Blue wire.
1. From the Etacs C-317 connector (pin 13) to the door connector of the right door C-112 (pin 18)
length - 2,20 m.
White wire.
2. From the Etacs C-317 connector (pin 14) to the door connector of the right door C-112 (pin 17)
length - 2,20 m.
Blue wire.
3. From the door connector of the right door C-112 (pin 18) to the connector of the right mirror E-03 (pin 6)
length - 1,90 m.
White wire.
4. From the door connector of the right door C-112 (pin 17) to the connector of the right mirror E-03 (pin 7)
length - 1,90 m.
Some wires were connected with help of mortise terminals.
Реклама. ООО "АЛИБАБА.КОМ (РУ)", ИНН 7703380158
Remove the plastic trim under the steering wheel, sills and door cards. And connect. I recommend to watch the process of wires connection in video above.
There is also rather good instruction on drive 2.
If for some reason the pins for connection are busy, then use any free ones, the main thing is to connect everything correctly. )))
Installation and connection of mirrors folding button on Lancer X
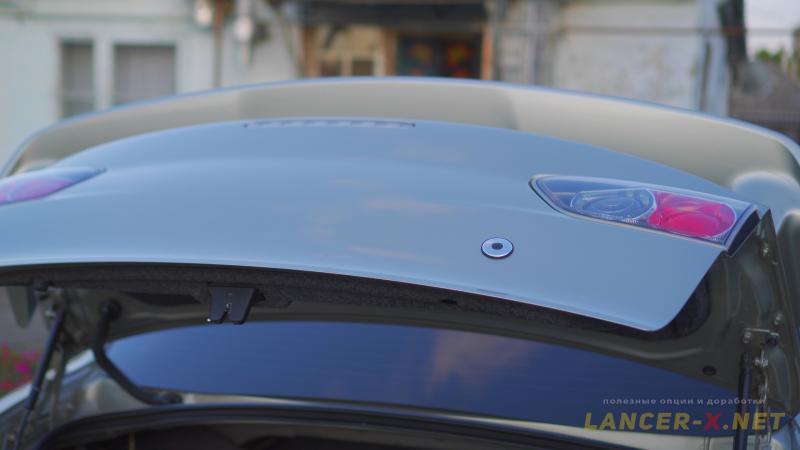
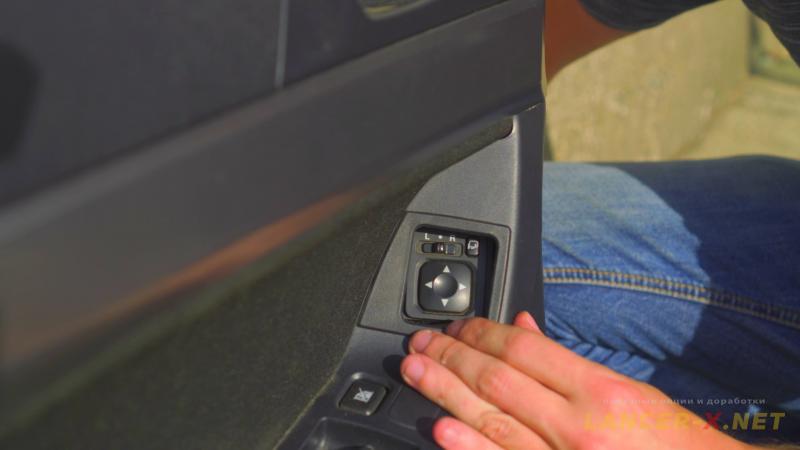 There are no any difficulties. Remove the old mirror adjustment unit from the left door trim and install a new button for mirrors folding.
Activating of powerfold mirrors on Lancer X
For activating you need a laptop, netbook or tablet for windows, as well:

1. J2534 compatible adapter. Bought here: Аliexpress
Реклама. ООО "АЛИБАБА.КОМ (РУ)", ИНН 7703380158
2. MMCodingWriter software for downloading and code writing.
3. MUT Coding Mitsubishi software for code editing.
4. Laptop.
I remind, how to work with these programs, you can find in this article.
Since 2021, the MUT Coding Mitsubishi program has become paid, so you can buy it from the developer, or use the built-in editor in the MMCoding Writer program.
It is necessary to make back up copies before edit codings!!!
For activating powerfold mirrors in Mitsubishi Lancer X you need:
In variant codings activate 2 points:
Fold mirror -->Enable;
Auto fold mirror -->Open/close by RKE/KOS;
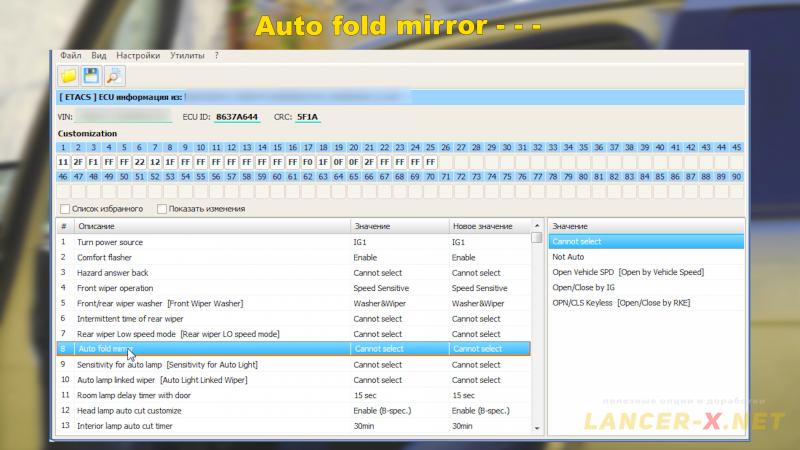 In custom codings find that point Auto fold mirror and activate there 1 form 4 modes at option:
1. Not Auto
When this mode is selected, the mirrors will be folded using the button.
When this mode is selected, the mirrors will be folded using the button.
2. Open Vehicle SPD [Open by Vehicle Speed]
When this point is selected, folding occurs only with the button, and unfolding when a certain speed is reached, or also with a button.
3. Open/close by IG
When this mode is selected, the mirrors are folded when the key is moved to the LOCK position, and when the key is turned to the UNLock position, they unfold. And also when Opening and closing the driver's door.
4. OPN/CLS Keyless [Open/Close by RKE]
And the last point, the way I understood it, is the synchronous operation with the alarm.
And the last point, the way I understood it, is the synchronous operation with the alarm.
In the video above, you can clearly see how each of the mirror folding modes operates.
I activated 1 mode, that is, folding and unfolding the mirrors only with the help of a button.
Video instruction for powerfold mirrors installation on Lancer X
Related links: