Standard options and upgrades for Lancer X
Installation of new climate control unit on Lancer X
Let us install and connect the new climate control unit from Outlander 3 on Mitsubishi Lancer X.

Lancer-X.net
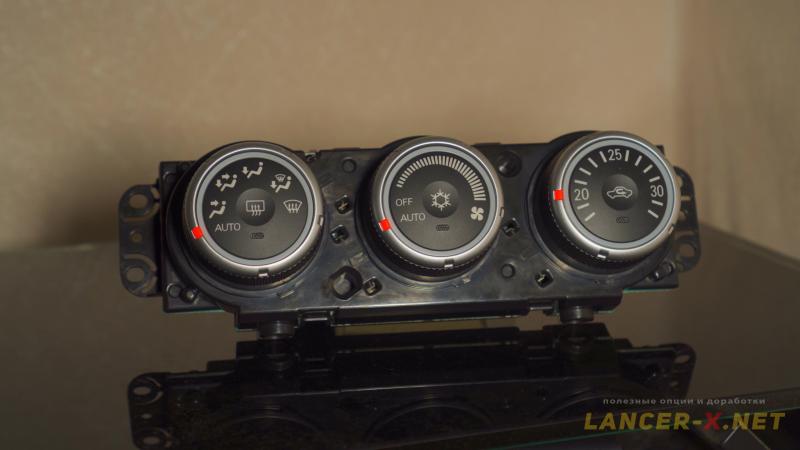
Many Mitsubishi Lancer X owners, sooner or later, change the simple temperature regulator to the set for implementation of full climate control, which includes a new regulator, interior temperature sensor, vacuum tube and if possible the light sensor.
 I'm no different. I installed given set several years ago and it still does its job without any problems. You can read about installation of given set in the article Climate control installation on Lancer X.
But now, thanks to the efforts of some people (I will tell about them below), the possibility to introduce a stylish and modern unit for climate control management to Lancer 10 from Outlander 3 appeared, with the possibility to implement the one-zone and attention even double-zone climate control on Lancer X.
For easy reference, this article is represented in 2 versions: text and video at the end.
One-zone or double-zone set of climate control on Lancer X
Before introduce the new climate control unit from Outlander 3, it is necessary to determine which set exactly you need.
In my experience, I used the double-zone climate control on all my previous cars where it was installed only a couple times during all operation period of the car. That is why I do not need a double-zone climate control.
Also keep in mind that the installation of one-zone set is so much easier than the double-zone installation.
For implementation of double-zone climate control is also necessary to remove a torpedo, change the servo drive wiring, add 1 servo drive and change upper part of the heater to upper part of the heater from Outlander 3.
But technically, there are no difficulties, there were links to logs below, where guys are installing actually the double-zone sets:
1. User Antabus and his post about implementation of double-zone climate control to Lancer X.
2. User Raler and his post about double-zone climate control from Outlander III.
3. User DanilMsk77 and his post about double-zone climate control on Lancer X.
Many thanks to guys for detailed reports. And special thanks to Antabus, the pioneer of given theme, who went through this process Inside and out and share the information with us in his log.
As for me, I am going to implement the one-zone climate control.
List of components for introducing the climate control unit from Outlander 3 to Lancer X
Unit for climate control management from Mitsubishi Outlander 3
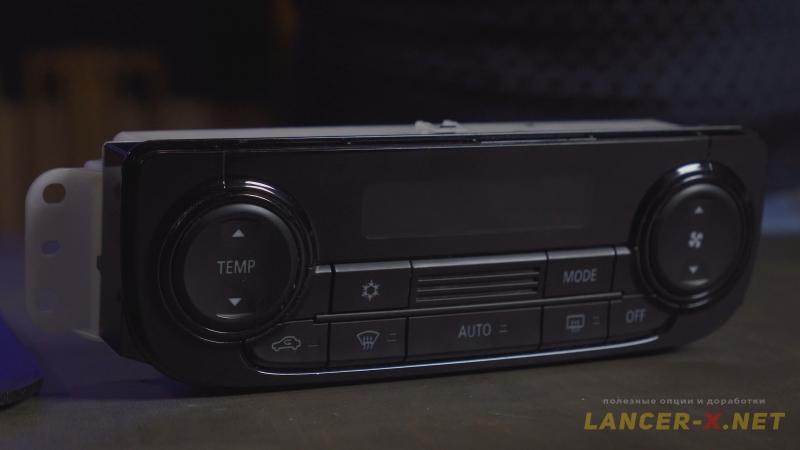 These units can be one-zone or double-zone, as well as with white and red lighting. My unit is one-zone with red lighting.
 The difference between one-zone and double-zone climate controls is that the double-zone has the separate button in the middle to control the rotation of heater fan. And along the edges there are buttons for separate temperature control for the driver and passenger.
I bought my unit at the jumble market on drive2. You can also can buy there sets for implementation of double-zone climate with upper part of the heater from Outlander 3. One can also find these units on Avito and dismantling.
Transient wiring
 It is necessary for the possibility to connect a new unit to the wiring of Lancer X climate control unit.
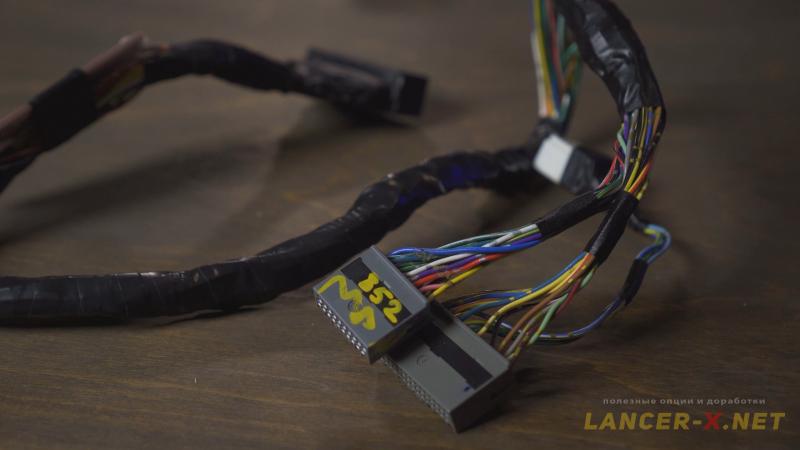 As you see, there quite a lot wires, pins and several rather rare mate connector.
 I believe, that many of you, who just see the re-pinning scheme, number of wires and connectors which are necessary to find and connect altogether, immediately change their minds to introduce given set.
That is why I contacted user Raler on drive2, who made this transient wiring for me, and without any problems will make it for you, for one-zone and double-zone set.
But if someone decide to make the transient wiring itself, even I did not resolve to do it))), then using links above, you can find re-pinning and connection schemes in logs of users Antabus and Raler.
CAN adapter by Kolyandex
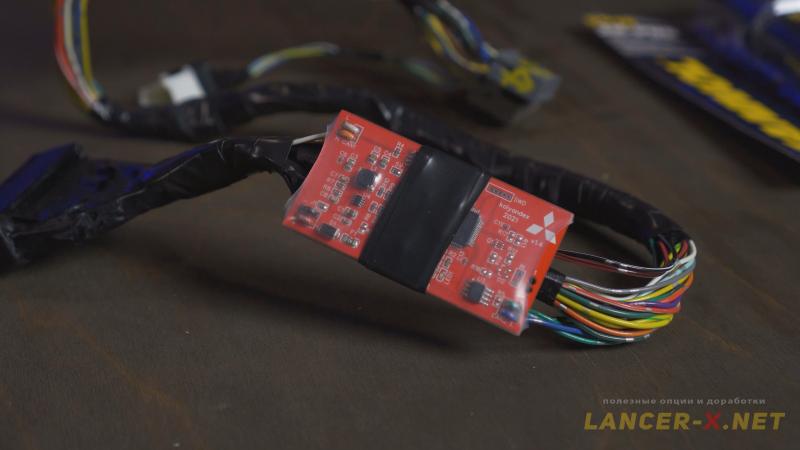 Also, it is necessary to build CAN adapter by Nikolai (Kolyandex) in transient wiring. By the way, he is an author of MM Coding Writer software.
CAN adapter is necessary in order the new unit adopt with Lancer X ECU, as the new climate control unit from Outlander 3 operates on other data busbar.
You can buy CAN adapter from Nikolai, writing him in direct.
New climate control console with boxes
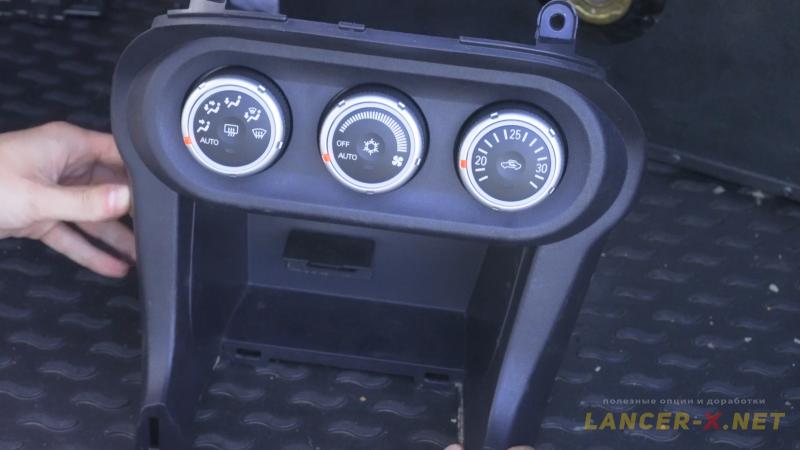
Before introducing the new climate control unit, I had 3 different versions of these consoles. But only one of them is suitable.
 The first console is the one that almost all Lancer X owners have. But in order to introduce the new climate control unit in it, one has to saw the front side, as there is the solid plastic here, you cannot do it evenly.
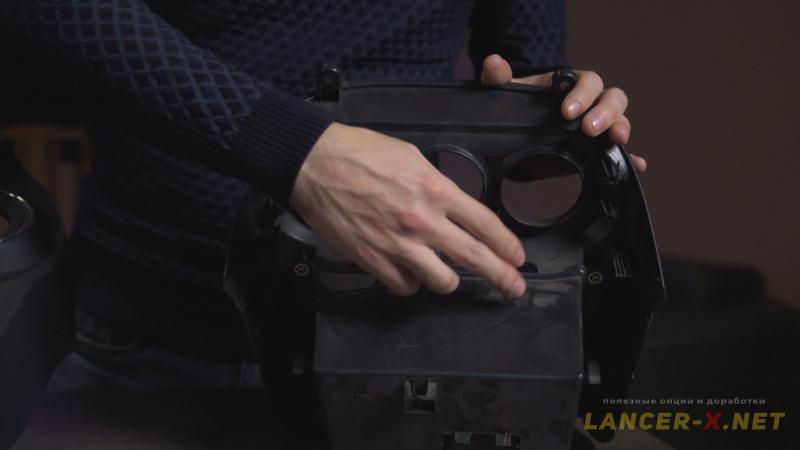 Plus, one has to make holes in upper part of the box, as lower part of the box will bump into it. Generally, one has to cut this console properly and I do not think that one can do it carefully. We delete this console.
The second console is a console with boxes, that was removed from right-hand drive car.
But I was honestly warned that this console is not suitable for left-hand drive car, as the consoles are turned toward driver's side. It turned out to be so, that is why we also delete this console.
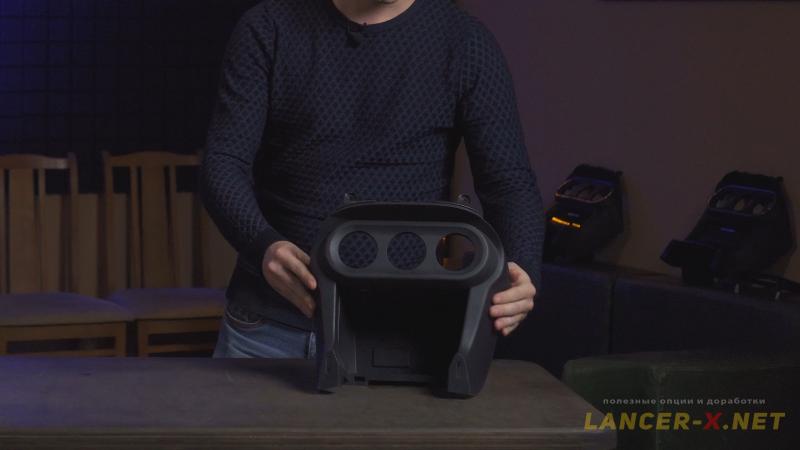
 The third console is the same as above, but for left-hand drive car. Exactly this console is suitable for our further upgrade.
 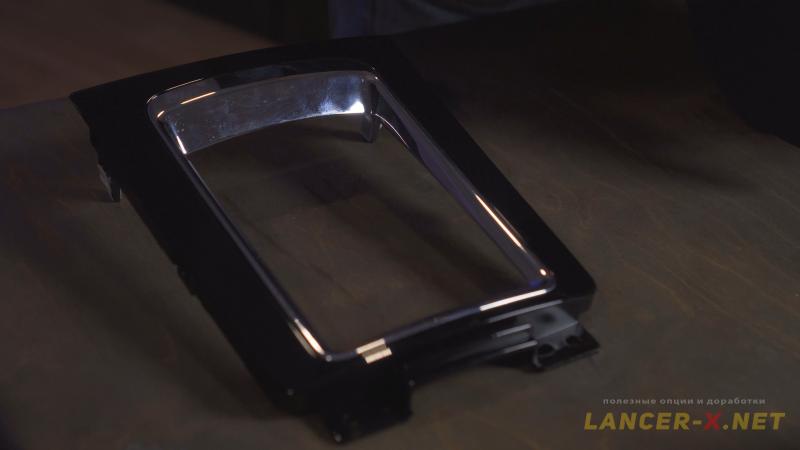 I bought it with moulding for variator and black piano lacquer.
You can buy console from Р444ОН54 on drive2., or on Aliexpress, but I do not leave links, as it is all much more expensive on Aliexpress.
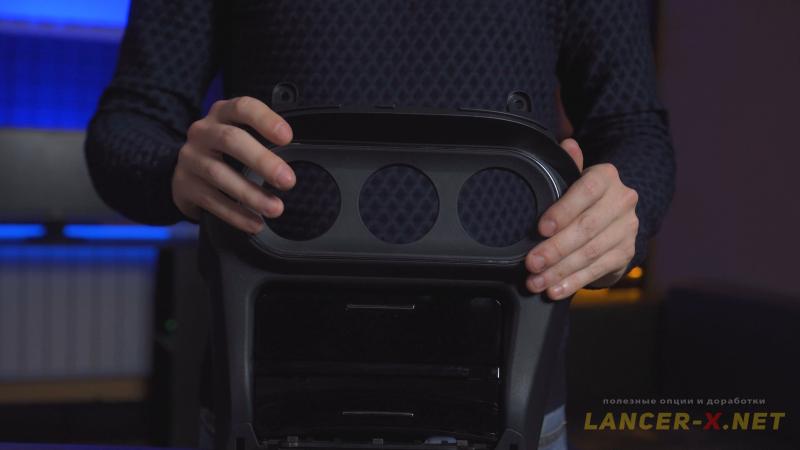
Frame was printed on 3D printer
 This is a frame, using which we will close all unnecessary holes, when we have built new climate control unit in the console.
You can order the frame in this group on 3D print. They send it in any city.
Installation and connection of climate control unit from Outlander 3 to Lancer X
In order to introduce the new climate control unit, it is necessary to develop the new console a little.
 Unscrew the face panel of Lancer X console, it is fastened with 2 self-tapping screws and 2 latches.
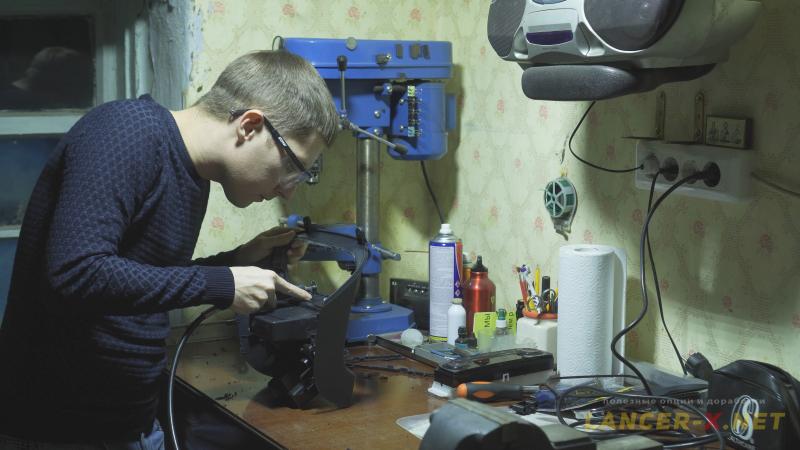 Now it is necessary to cut off all plastic, that prevents the unit building in. The main thing is not to cut off seating positions made from plastic, where the self-tapping screws are screwed when fastening the unit.
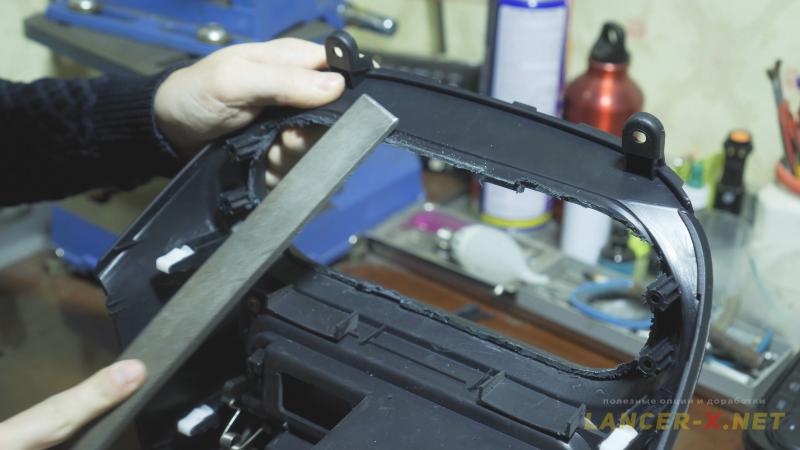 Cut off carefully, and then develop using a rasp and knife.
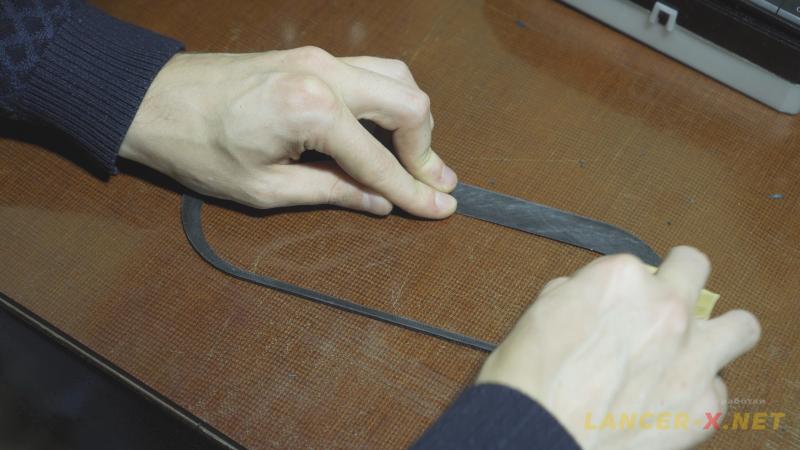 Next, using an abrasive paper, clean the surface of the frame, printed on 3D printer and console surface, where the frame will be glued. It is obligatory to ungrease all properly after cleaning.
 I will glue everything with epoxy two-part adhesive for MANOOL 2K-PUR-9918 plastic repair. I paid my attention on this adhesive as it is used in bumper plastic repair, as well as cracks repair in the expansion tank etc. There also was a reinforcing net in the set, but I did not use it.
 Stir adhesive and spread it on the frame and console, and then glue the frame to the console. The first few minutes I pressed the frame while the adhesive was not dried. I also glued a little along the outline from the other side.
Instruction indicated that the adhesive dry fully during 2-3 hours, but I left everything drying for 24 hours.
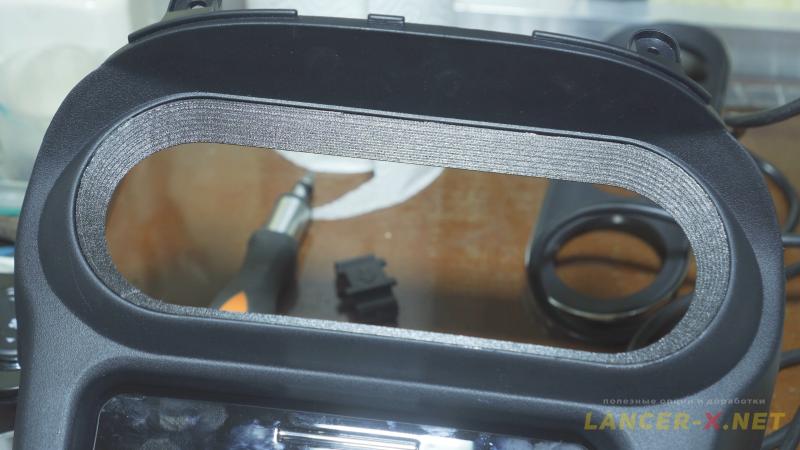 Check after 24 hours, everything has been glued very reliable.
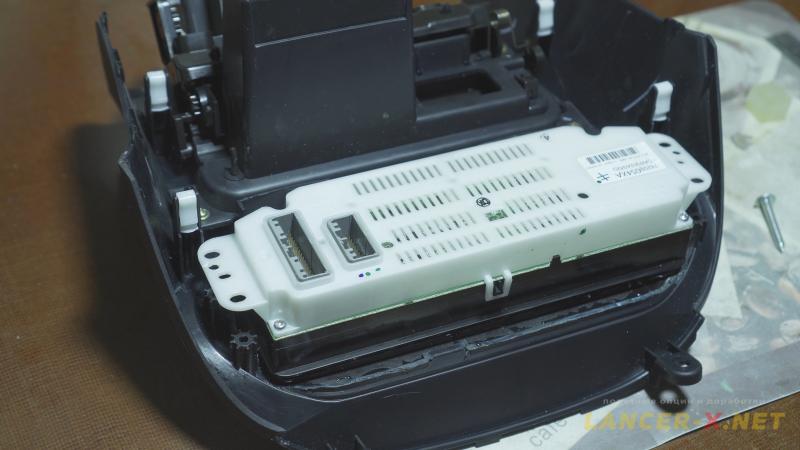 One can fasten the unit, but it is not possible to fasten it in the standard places, as the unit is shifted slightly. That is why it is necessary to make 1 additional hole on the unit itself, which must be combined with fastening holes on the console itself. Mark and drill.
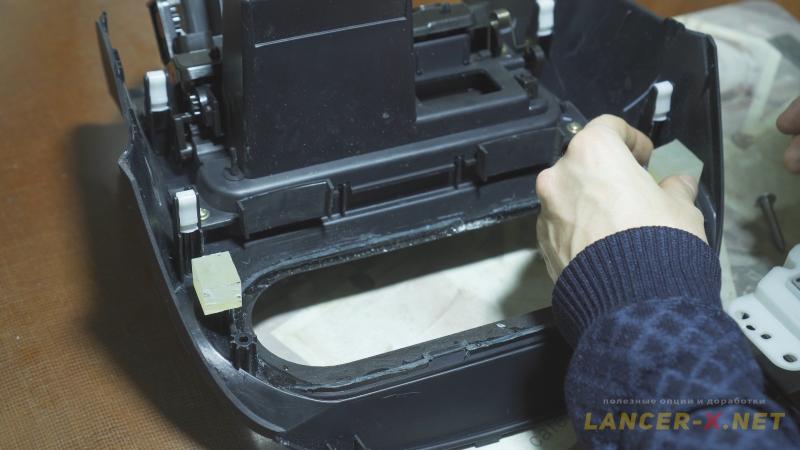 Additionally, for strengthening, I lay a plastic spacer with holes of 1.5 cm thick, in order the unit bumps into these spacers when screwing it.
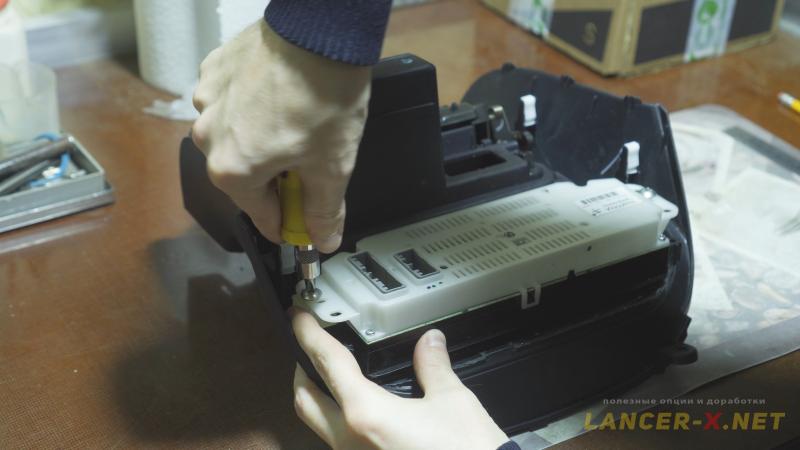
 I could screw the unit only on 2 of 4 self-tapping screws, but it is found to be quite sufficient, the construction is very monolithic.
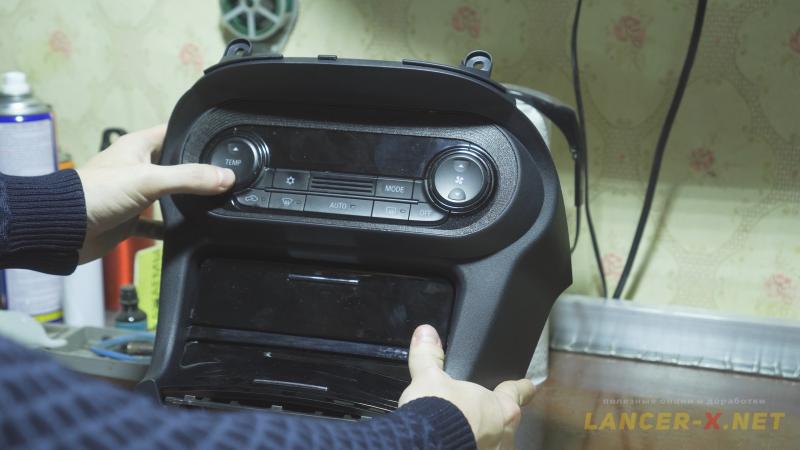 The frame could be painted and laminated, but I did not do it, and as it looks very well that way.
That is about it, all developments are completed, one can install all on the car.
 Remove old console and do not forget to remove and install the jumper in the new console.
 And I did not get a chance to install the AUX unit from old console to the new one, as the holes in new console are much smaller. But I cannot see any point in installing it. as I listening to music via Bluetooth now, which I have installed in this article Bluetooth Hands free unit on Lancer X.
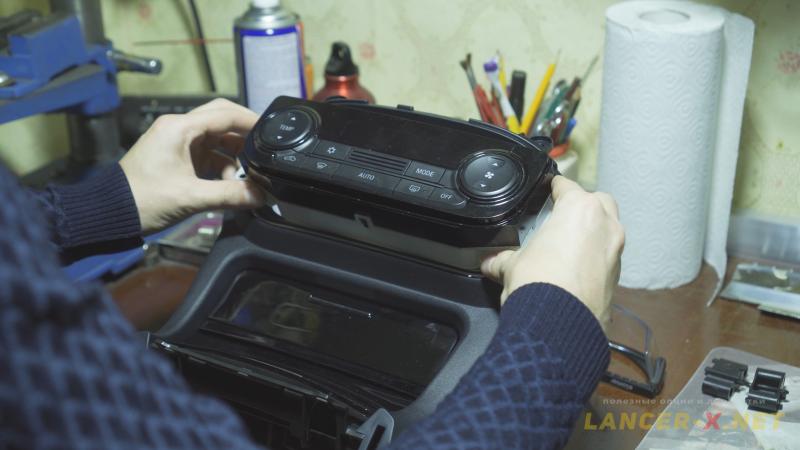
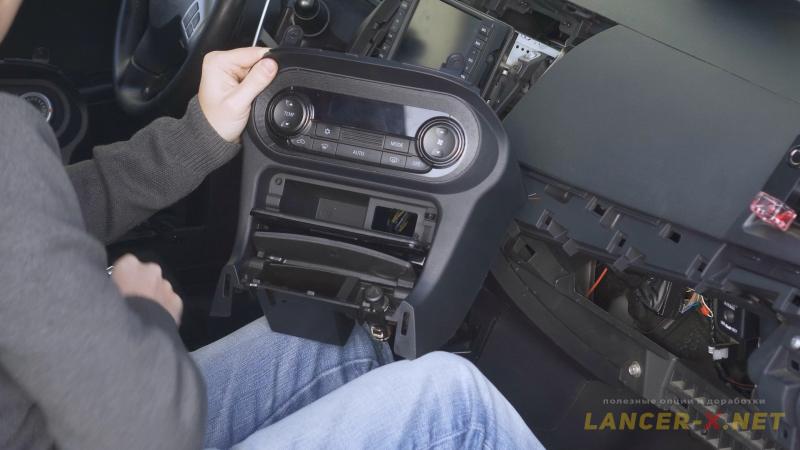
 Connect transient wiring to the wiring of Lancer X climate control unit, to the wiring of Lancer X regulator and to the new climate control unit from Outlander 3.
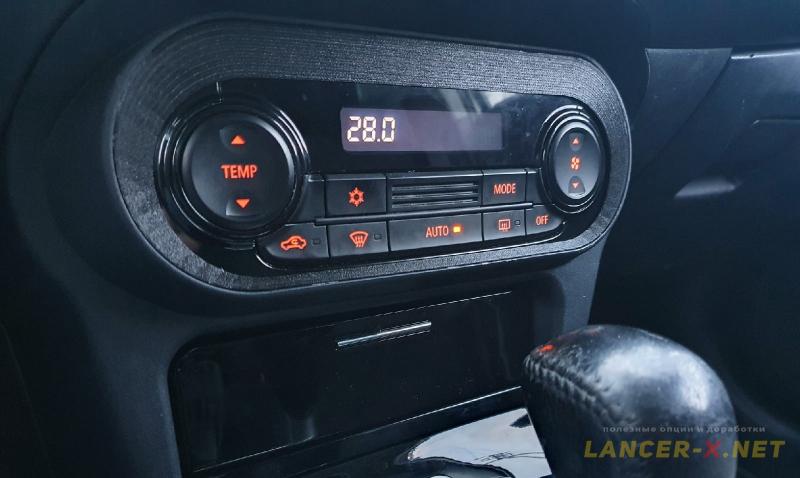
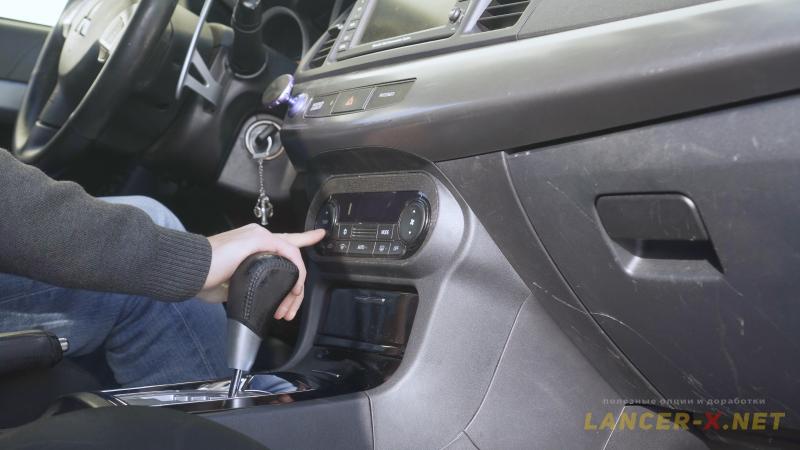 Collect the interior back and look how the Lancer X interior has changed with new climate control unit and new console.
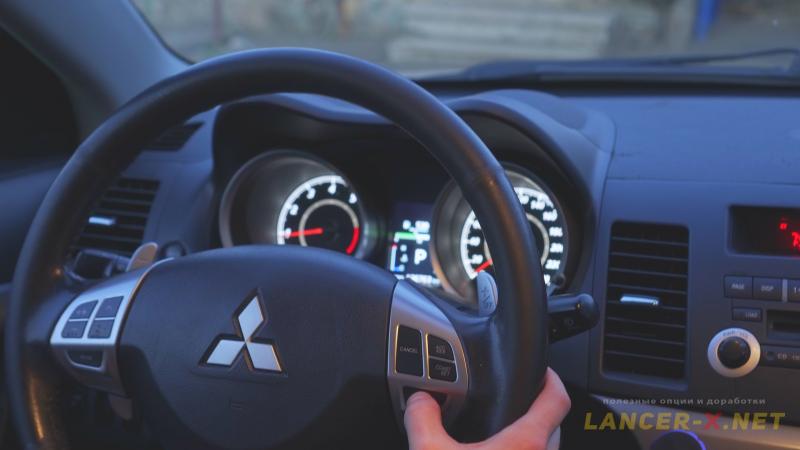
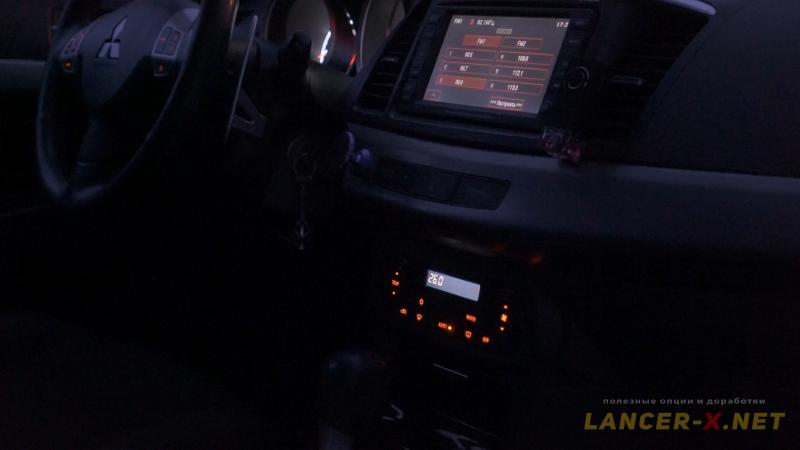 Everything looks harmonically, the unit's buttons also flash at night with red colour, as general lighting in Lancer X.
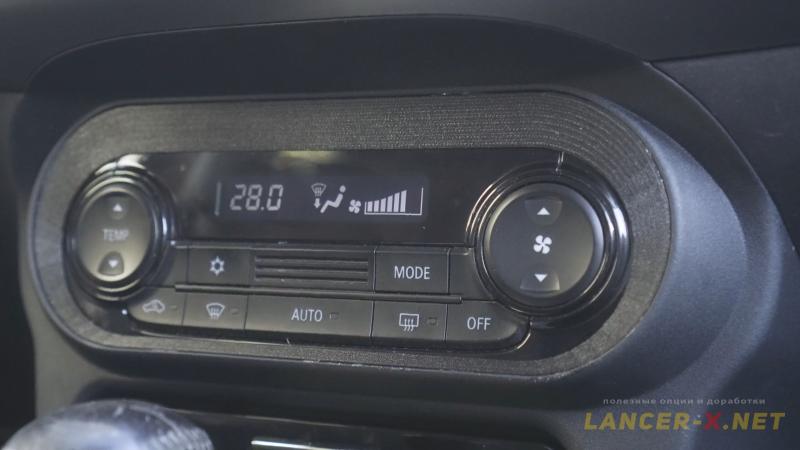
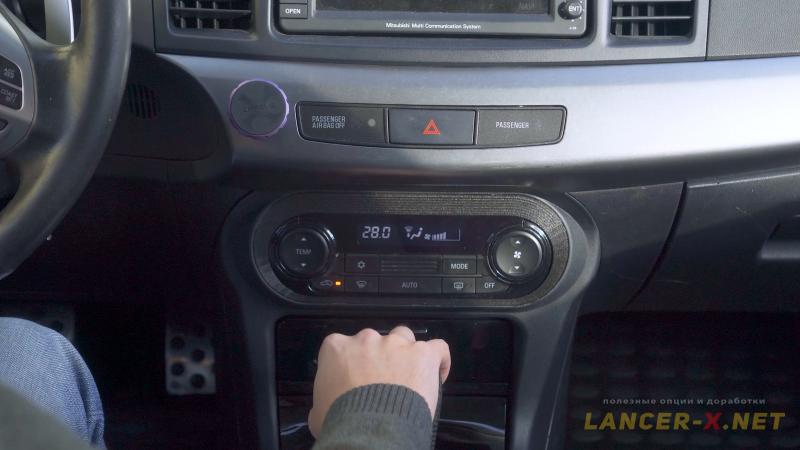 I really liked the display on the unit, it is quite informative. Now one has the possibility to familiarize which temperature has been adjusted, which modes and which fan rotations have been adjusted at the given moment.
All switching, the same as before, duplicate on the standard MMCS car stereo. Except the indication of switching-on air conditioner, but this is not critical, as there is an indication of switching-on air conditioner on the unit display in the form of snowflake.
 The only thing, that is not usual is the absence of audible indication when pressing the buttons.
To sum up, I am satisfied fully with installation of climate control unit from Outlander 3 to Lancer X, all my expectations are met. The Lancer X interior looks more stylish and modern with it.
Video instruction of installation and connection of climate control unit from Outlander 3 to Lancer X
Related links: