Standard options and upgrades for Lancer X
Climate control installation on Lancer X
Let us install a climate control regulator on Lancer X, a solar activity sensor and an interior temperature sensor.

Lancer-X.net
There are temperature records are breaking in my city this summer, +43 degrees, that is too hot. That is why I have decided to install climate control - another really useful option for Lancer X.
For easy reference, this instruction is represented in 2 versions: text and video at the end.
Components for climate control installing
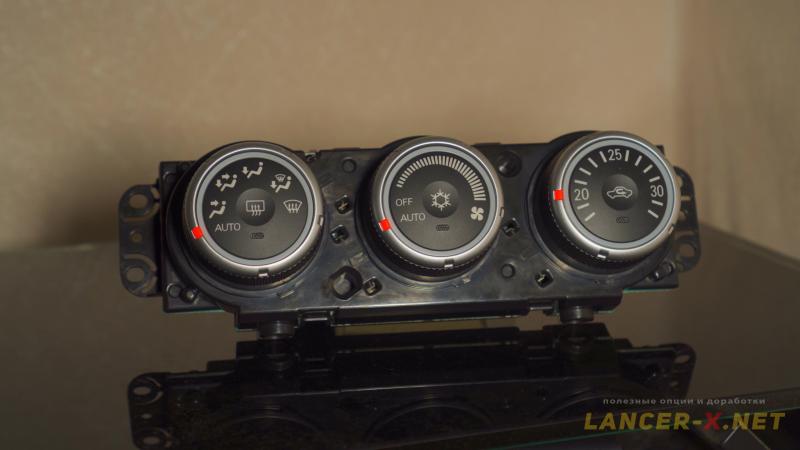
1. Climate control regulator 7820A072ХВ (with one connector for restyling Lancer X. If you have a different number, then you can use any one with one connector. They differ only in the color of the ring edging and the location of the temperature control rings. Important! On Lancer X, since 2012, the regulators are of a new type - with two connectors, as the climate control unit is built into it. Be sure to check this point.
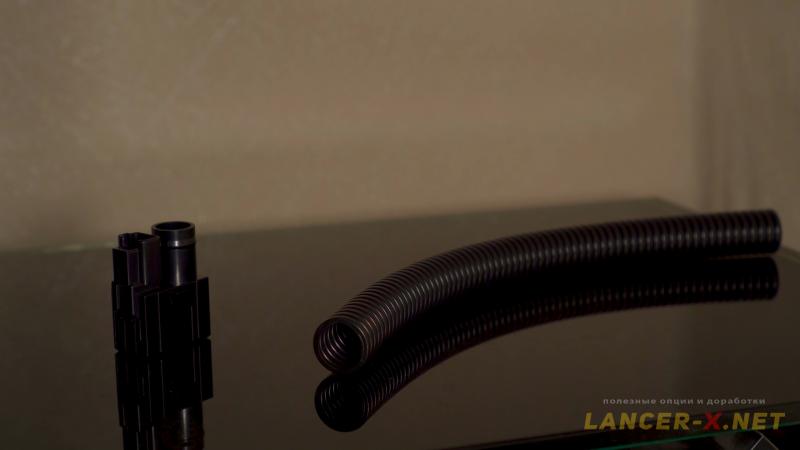 2. Interior temperature sensor MR513088 and tube 7820A057 for it, bought here Aliexpress. Some people choose tube in the tool shop, but I recommend you to buy original one.
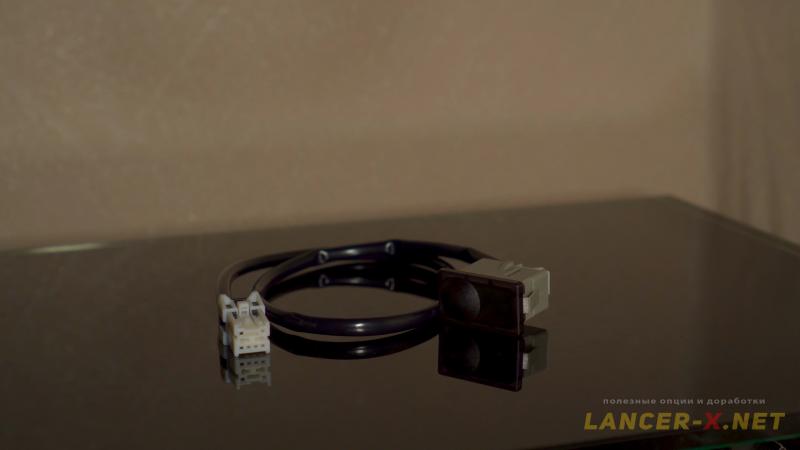 3. Light sensor (photosensor) 7825A003 in grey colour. There are also the same sensor but but combined with the climate and auto light 7825A019 in green colour.
I have bought 7825A003 as did not plan to install auto light at the moment of climate installing.
It is not necessary to install sensor, climate control will work without it. When auto are exposed to the sun, climate control works more intensively. That is its basic function.
4. The climate control unit did not change, since I have a 7820A403 unit from the factory, according to reviews it quite adequately regulates the temperature.
I repeat, if you have a Mitsubishi Lancer X"12, you will most likely not have this unit, since it is built into the climate control regulator and you will have 2 connectors on it. Check it.
Реклама. ООО "АЛИБАБА.КОМ (РУ)", ИНН 7703380158
6. Wires with pins, from the donor connector of the old wiring.
Climate control regulator installing
Here it is necessary to remove the console where the regulator is attached.
 To do this, we remove the glove compartment, unscrew the "saber" and the center console with an armrest, move it or remove it completely. Next we unscrew the console with the climate and disconnect the wires from it.
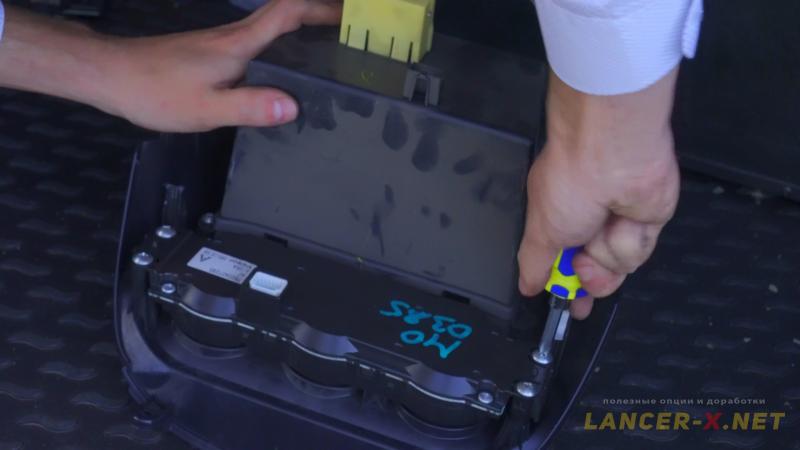 The regulator is fixed with 4 screws, unscrew and install our new climate control regulator.
Interior temperature sensor installing
 For a more convenient installation, it is necessary to remove all pads under the steering wheel, the dashboard trim and the trim behind the ignition key, this is the very place where the sensor itself should be installed.
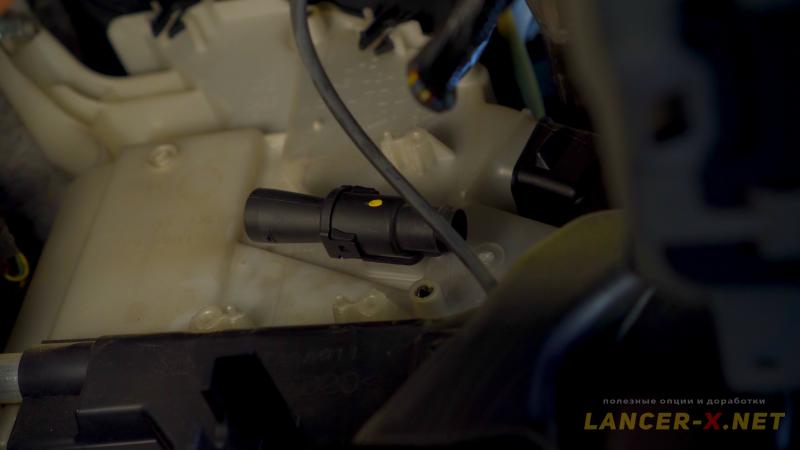 Now we extend our hand from the side of the gas pedal to the stove, there feel for a small tube (black), remove it and install it on the 7820A057 tube, and on the other end of this tube we install the MR513088 interior temperature sensor.
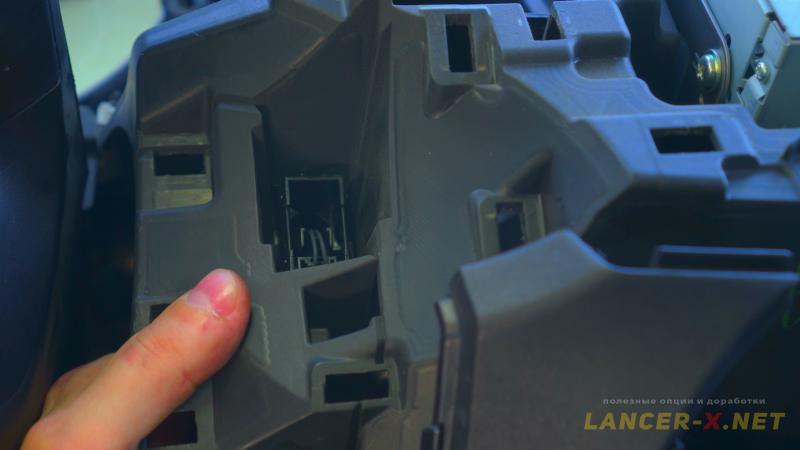 Next, we install our structure, put the end with the tube removed from the heater back, and stretch the other end with the MR513088 interior temperature sensor to its regular place and install it until it clicks.
 Below there will be a connector for connecting it, it comes from the factory. Find it and connect.
Light sensor (photosensor) installing
I repeat that it is not necessary for installation. The basic function of that photosensor is to make the climate control work more intensively when exposed to sunlight. The climate control works normally without it, focusing on the readings of interior temperature sensor.
I installed light sensor (photosensor) 7825A003.
Important moment for its connecting.
On the pre-styling Mitsubishi Lancer X (until 2011), the connector for this sensor is located behind the dashboard. There are no any difficulties. We stretch the wire and connect.
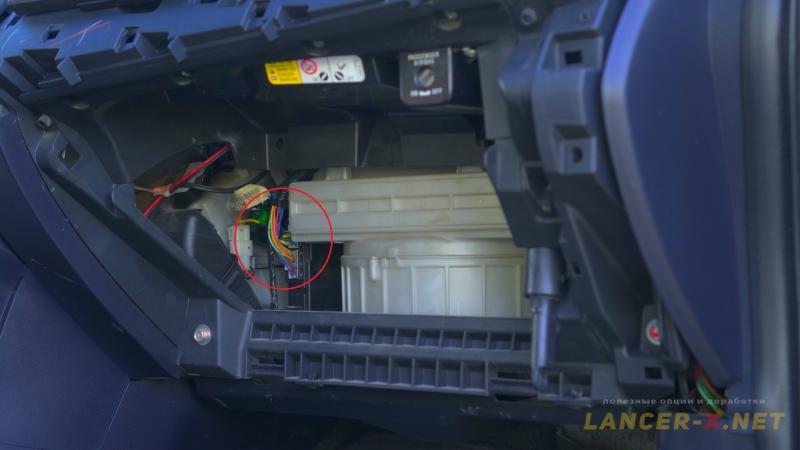 But on the restyled Lancer X (since 2011), this connector is absent. Therefore, we extend the wires from the solar activity sensor to the glove compartment, to the climate control unit, and there we connect 2 wires.
 The sensor itself is installed in a special place on the dashboard. We remove the plug and install our sensor until it clicks. In my case (as restyling) we extend the wire to the climate control unit.
Disconnect the connector (C-15) from the climate control unit and connect our sensor as follows:
 - The green wire from the sensor is connected to pin 18, it is free in the C-15 connector.
- Connect the white wire from the sensor to pin 19 (light green wire) using a compression terminal.
If you have any difficulties, I recommend you to watch video above, it clearly shows the connection process.
This completes the process of installing climate control on the Lancer X. You do not need to activate it, everything will work in a routine mode.
Video instruction for climate control installation on Lancer X
Related links: