Standard options and upgrades for Lancer X
Electronic latch and trunk button on Lancer X
Let us install the electronic latch and trunk open button on Lancer X.
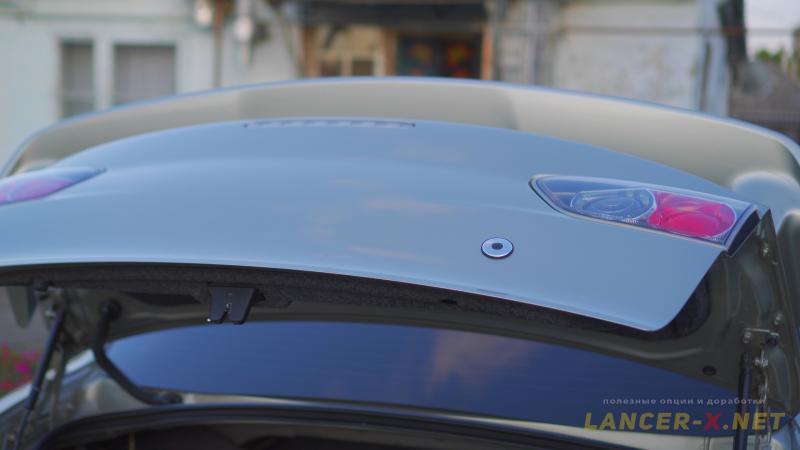
To my mind, every Lancer X owner must install electronic latch and trunk open button. This option is extremely useful and suitable.
For easy reference, this instruction is represented in 2 versions: text and video at the end.
Components for electronic latch and button installation on Mitsubishi Lancer X
All repair parts were bought new. But long enough. More than a year passed from the moment of purchase to installation.
Now the prices are well above, so you can safely buy second-hand. There are a lot of offers on supported repair parts market.
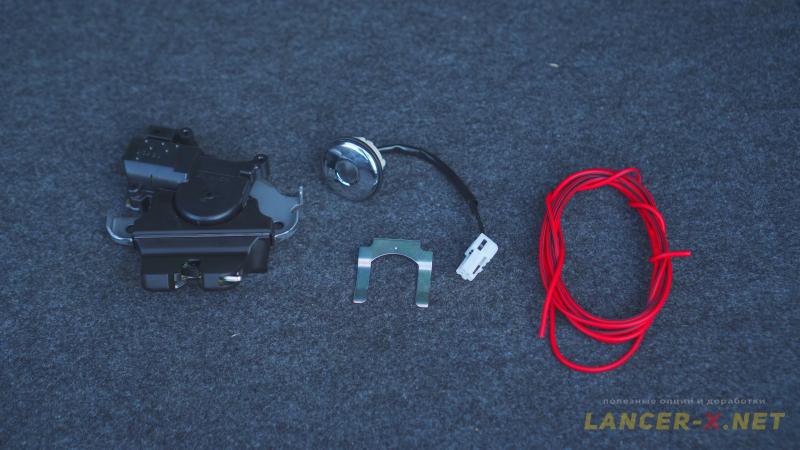 1. Electronic latch- (5927A012)
2. trunk open button - (5927A004)
3. Retaining clip (Retainer) for button (MB 590337)
4. Wire 100 cm. (with a margin)
5. Male/female pins or mortise terminal.
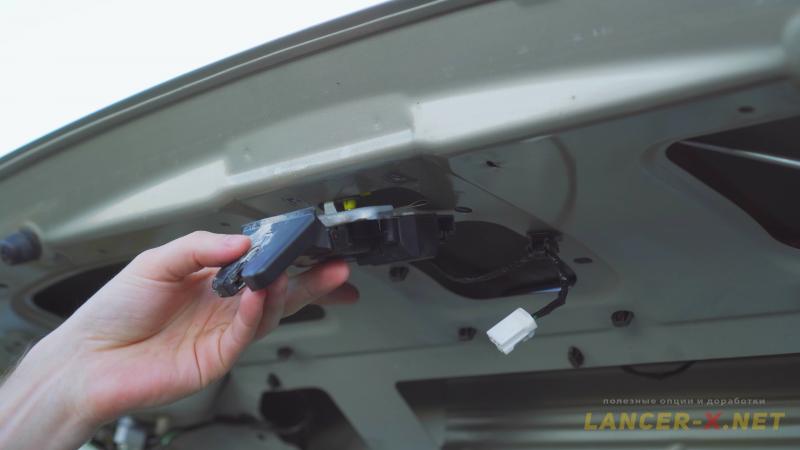 There are not any difficulties during the installation. Remove the trunk lining, after which unscrew the old lock, it is attached with 2 bolts. Unlatch the pull from the lock cylinder and take out the lock. Fasten a new electronic latch and attach the connector that are out of box.
Next unscrew the lock cylinder and take out fitting plug, outside of the trunk. Wipe the mounting seat from dirt carefully and install the trunk open button, fix it with retainer inside the trunk.
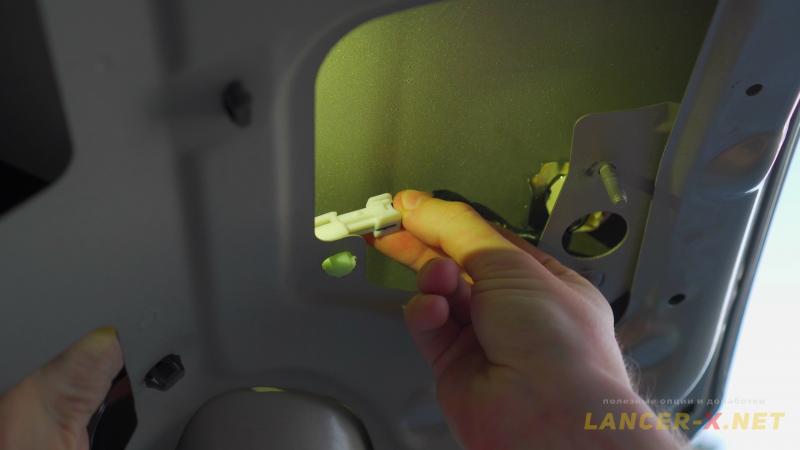 Connect the standard connector, that are out of box to the button. After that, it is possible to install trunk lining back.
Now it is necessary to buildup the wire from D-17 (pin 4) connector to F-28 (pin 3) connector, as Lancer X, delivered to Russia were not completed with trunk open button and electronic latch, that is why this part of wire is absent.
The F-28 connector is located on the left rear fender arch from the trunk side, and the D-17 connector is there, but on the passenger compartment side. To get access to them, remove the fender lining from the trunk side, and the seat from the passenger compartment.
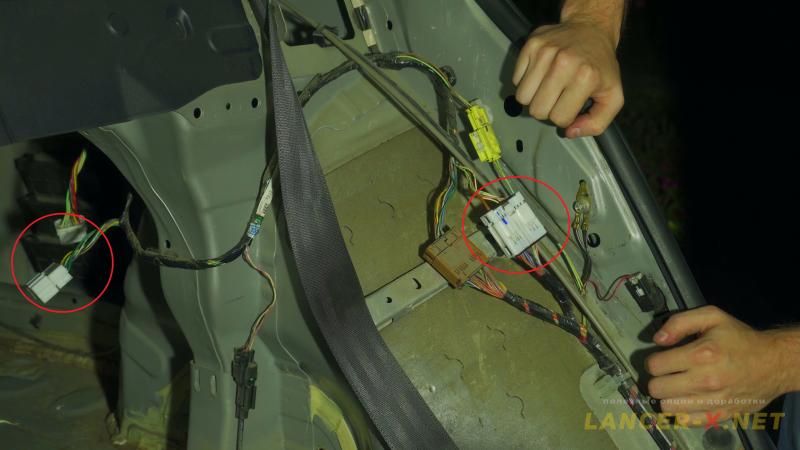 There is the black and yellow wire, that comes into the D-17 (pin 4) connector, from the side of the passenger compartment. That is what we need to build up to the F-28 (pin 3) connector and connect it to the red wire responsible for the button operation.
There are two ways for connecting, crimp our wire with male pins (for connector F-28) and female (for connector D-17) or cut into these wires using clamping terminals, which is much more convenient.
If you have any difficulties, review the video below, it clearly explains how and where to connect. It also seems difficult to me at first, but in reality everything is very simple and easy.
After connecting, your button probably will not operate, as it is necessary to activate the electronic latch and trunk open button.
Procedure for activating electronic latch and trunk open button on Lancer 10
For activating you need:
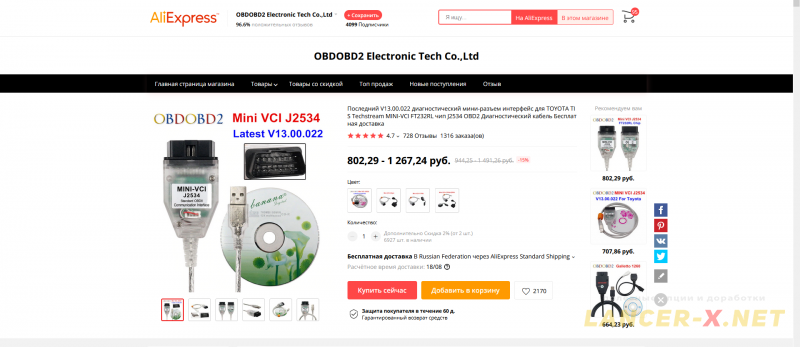
1. J2534 compatible adapter. Bought here: Аliexpress
Реклама. ООО "АЛИБАБА.КОМ (РУ)", ИНН 7703380158
2. MMCodingWriter software for downloading and code writing.
3. MUT Coding Mitsubishi software for code editing.
4. Laptop.
Always do backup copies for original Variant and Custom codings!!!!!!!!!!
The detailed activating procedure you can find in video below or in this article: The activating of hidden functions on Lancer X.
Electronic latch and trunk open button are activated in Variant Coding ETACS. It is necessary to activate this point:
- Gate/trunk opener mode --> Present
In some cases, it is necessary to activate this point as well:
- Gate/Trunk --> trunk type
After activating everything will operate in a routine mode. The button is connected with central lock.
The only thing, I still activated the central lock and trunk automatic closing when driving over 20 km / h. and automatic opening when the variator selector is parked (P).
In the nearest future, I am going to put reinforced Shock absorbers for the trunk lid - PATRON PGS246557, so that the trunk lid opens automatically upwards when the trunk button is pressed.
Video instruction for electronic latch and trunk open button installation on Mitsubishi Lancer 10
Related links:
See also:


