Standard options and upgrades for Lancer X
Standard rear view camera for Lancer X
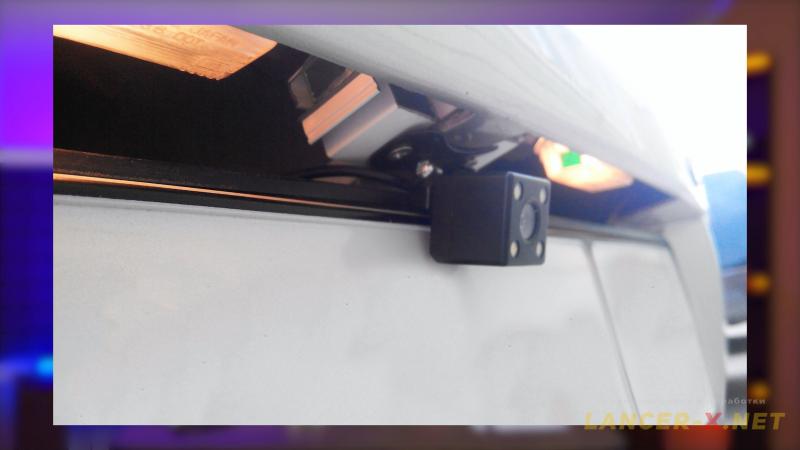
Install the standard rear view camera on the trunk lid of Mitsubishi Lancer X.


Lancer-X.net
The rear view camera is a one of useful option, that makes it easy to reverse parking. But the standard cameras on Mitsubishi Lancer X in Russia for some reasons have been not almost installed, but on the internal Japanese market, the opposite way, the standard camera has been installed on almost every Mitsubishi Galant Fortis (the Japanese name of Lancer X).
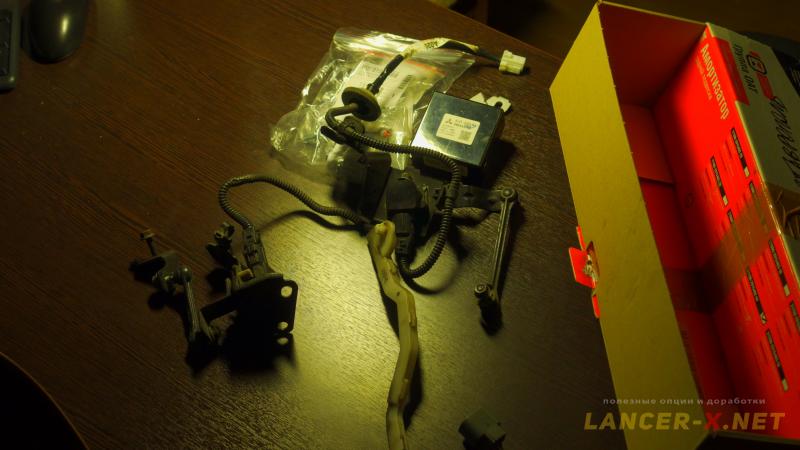
That is why I bought almost all necessary set from the right-hand drive car, in which was the camera itself and the part of the wiring. I will install the given set on my Lancer X by using a template, the link for template will be below.
For easy reference, this instruction is represented in 2 versions: text and video at the end.
The standard or non-standard rear view camera on Mitsubishi Lancer X
If you decided to install the rear view camera, you will have 2 ways of installation: standard or non-standard.
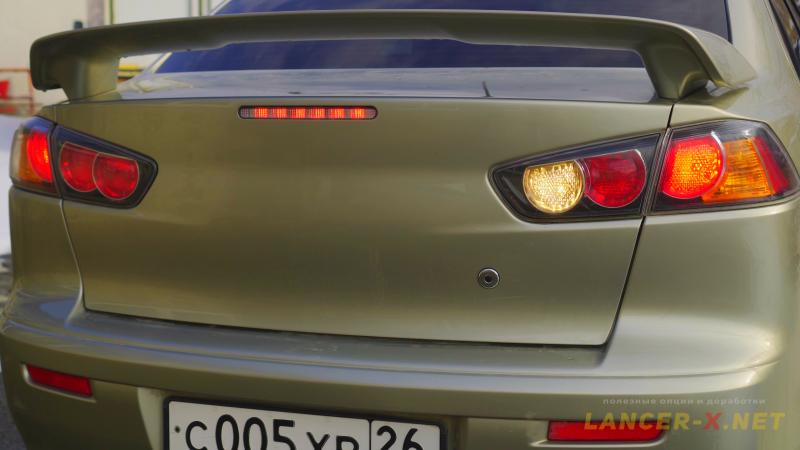
 Non-standard is an installation of rear view camera in the area of the number plate backlight, or the installation of combined camera with the licence plate lights. Also, some people manage to install camera in the dismantling spoiler or "duck tail" spoiler, that are also installed on the trunk lid.
But as a rule, in many cases, sooner or later the Lancer X owners install exactly the standard rear view camera as it provides the optimum angle and observation. The only insufficient of standard camera is that it is installed with some act of vandalism-one has to make technical holes for camera installation, but there are not any difficulties.
The necessary set for standard rear view camera on Mitsubishi Lancer X
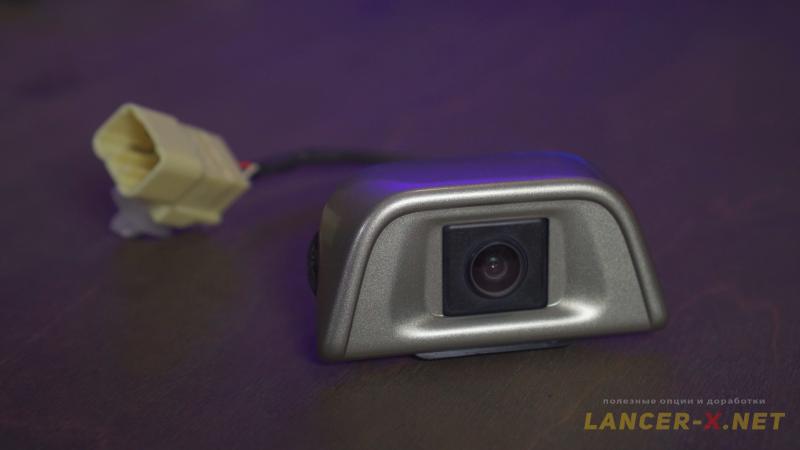 The most important thing is the camera itself. And it is lucky that the beak of given camera has the colour of my car (S18), so I do not need to repaint it.
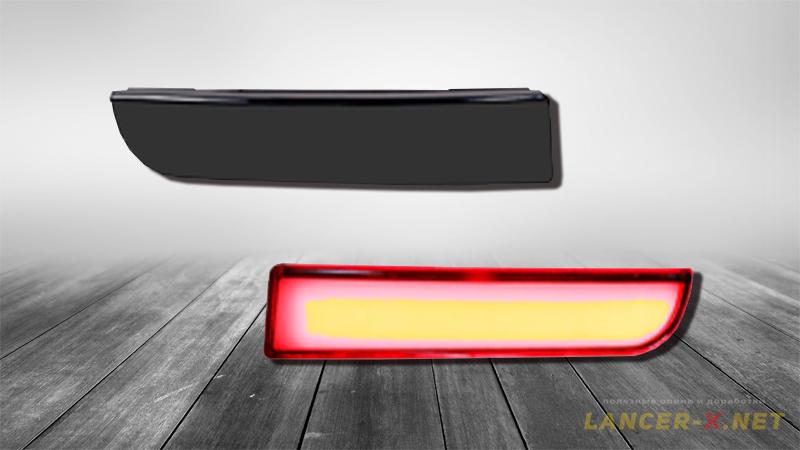
I have got the solid wiring, that is installed in the trunk lid. As it is known, there are 2 reverse signals on the right-hand drive cars, and the fog light is absent. If you plan to install the second light with the second reverse signal on your car, then install the wiring fully and just restore the wire, that is responsible for fog light operation.
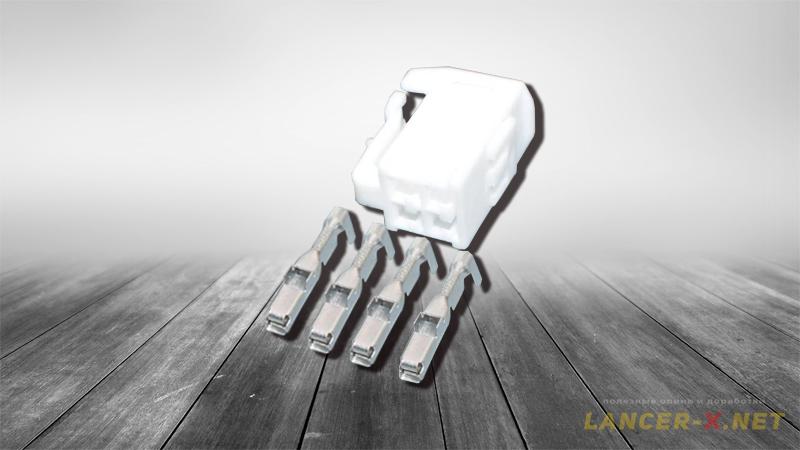
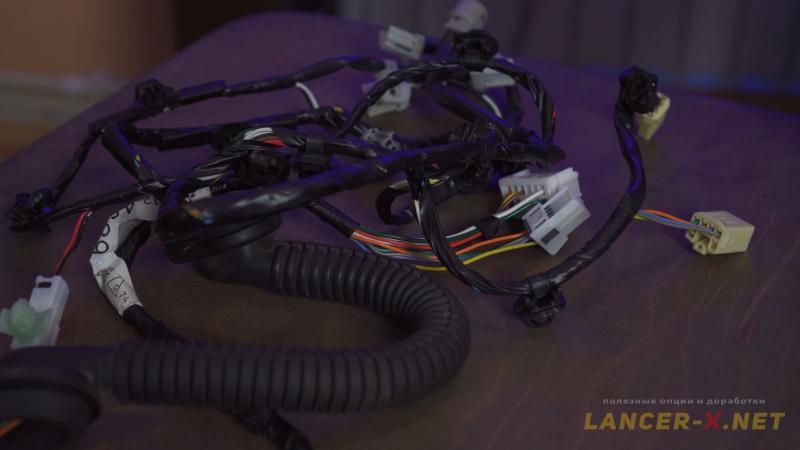 I do not plan to install the second light with the second reverse signal, and for that reason I unplait the wire with connectors from right-hand drive car for the camera connection and plait it in my standard wiring.
The only wire, that was absent in my set, is the wire from the camera connector on the rear fender, up to car stereo, one has to make it independently.
The reasonable question is how to install the rear view camera on Mitsubishi Lancer X smoothly and beautiful? In the internet you can find the set MZ380462EX, in which there are the camera itself, all wiring, instruction and template for installation. We are not interested in the set itself, as it quite expensive. We are interested in the template, by means of that we can fit a camera in the trunk lid.
You can find scanned version of this template in the internet, but they either have bad quality or divided into several parts (a4 sheets), that is not convenient. That is why I tried to find all versions of this template and combine them all on 1 A4 sheet, with the compliance of all necessary proportions and sizes.
 You can download the template for rear view camera installation on Mitsubishi Lancer X below:
shablon-kamera-mitsubishi-lancer-x_net.pdf
(Скачали 3283)
10.53 Mb
Посмотреть онлайн файл: shablon-kamera-mitsubishi-lancer-x_net.pdf
IMPORTANT!!! Your purpose is to print given template full sized and using the ruler check the markings and all visual sizes, as in 95 % of cases the printers somehow print all in the wrong scope. Check all several times!!!!!
Installation of rear view camera on Mitsubishi Lancer X
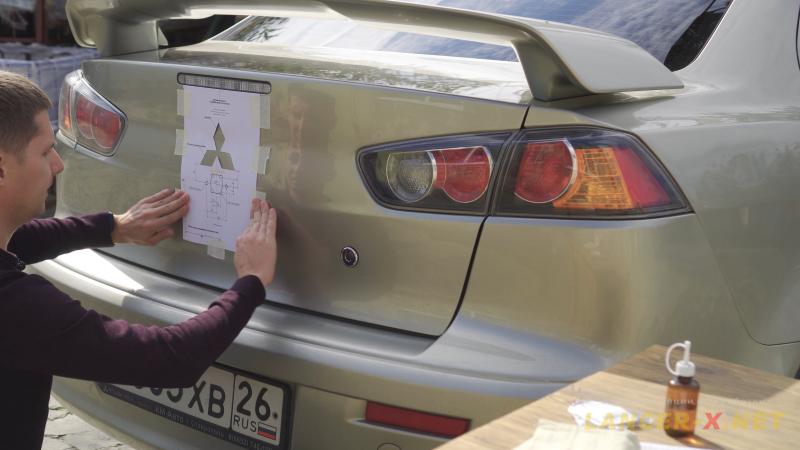 I have cut carefully the badging outline in the template, wiped the trunk surface and deoiled. I fastened the template on the trunk lid using the masking tape.
 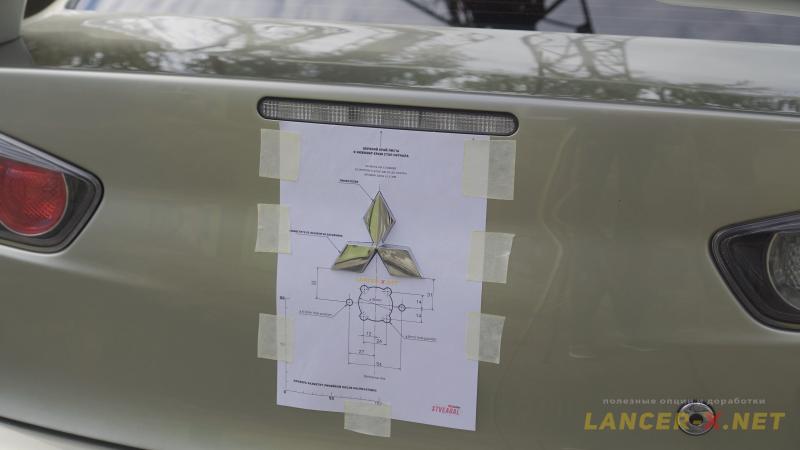 Using the opportunity, I have decided to return the badging on the trunk lid, its item number is Mitsubishi 7415A389. To make it stick as well as possible, the surface needs to be slightly warmed up with a hairdryer.
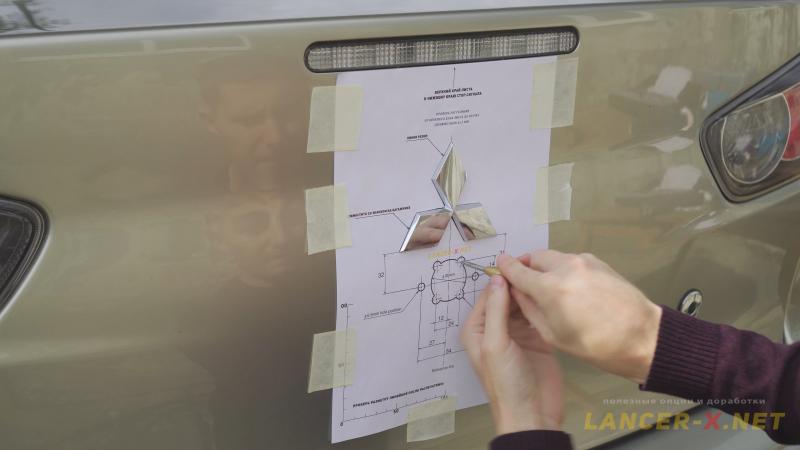 Next, for any cases, remove the electronic latch, so that chips do not get on it and with the help of a core, mark 7 holes for drilling.
Реклама. ООО "АЛИБАБА.КОМ (РУ)", ИНН 7703380158
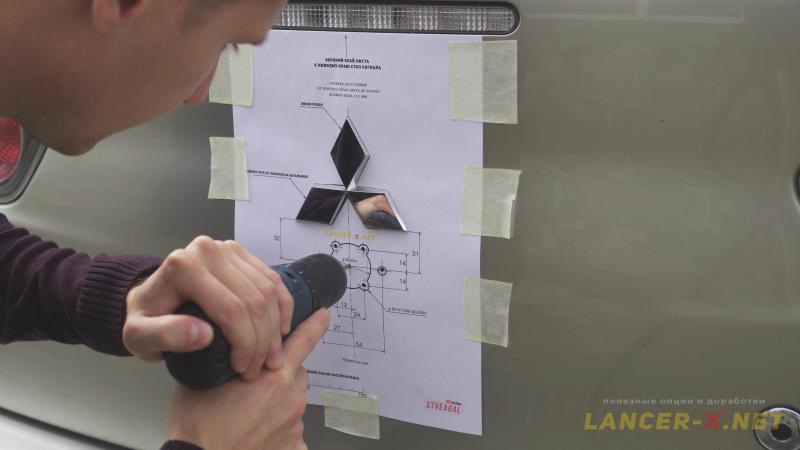 Drill all 7 holes with the 3 mm borer.
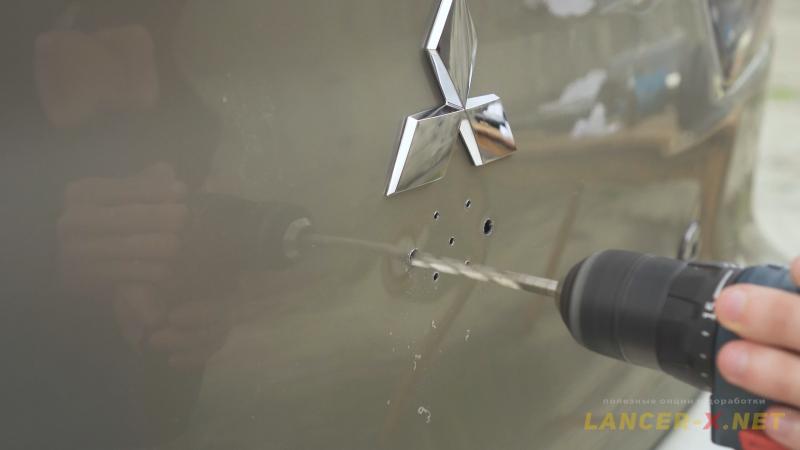 Look at the template and remember by which borer one drill the remain holes. Drill the uttermost holes from the left and right with the 6.5 mm borer.
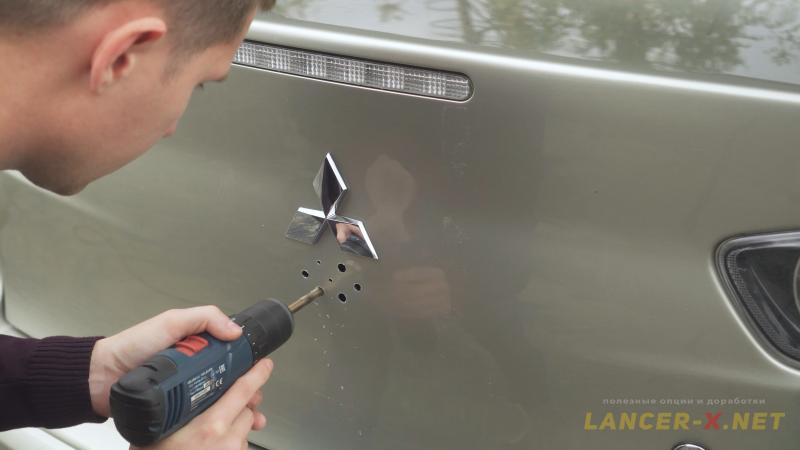 The 4 central holes drill with the 8 mm borer.
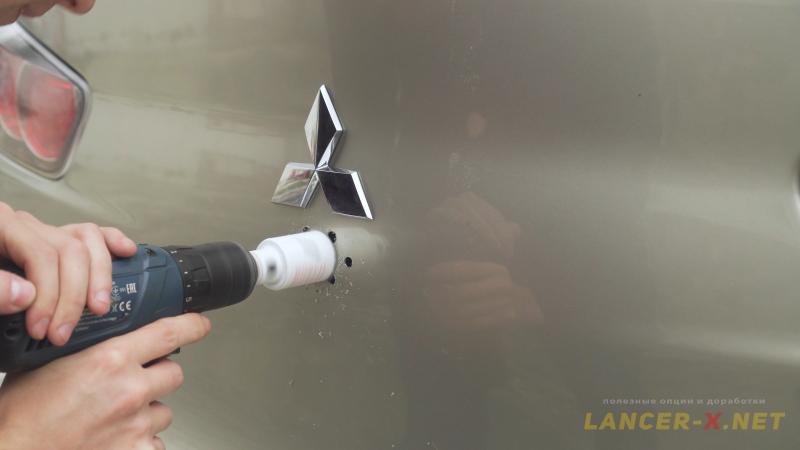 And now, using the 35 mm crown, drill the central hole. After that, clean the edges from the burrs and handle with the paint, so that the edges do not rust over time.
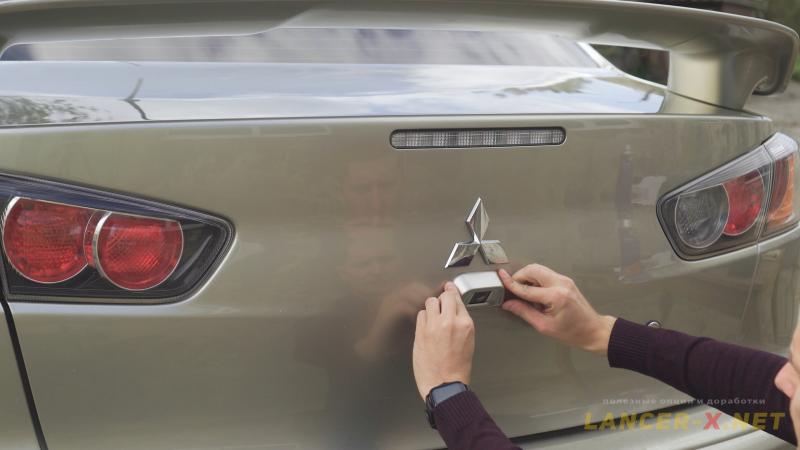 Install the camera and tighten with 2 nuts. Some people smudge the camera with sealant, but I won't to do that, the camera is tighten quite well.
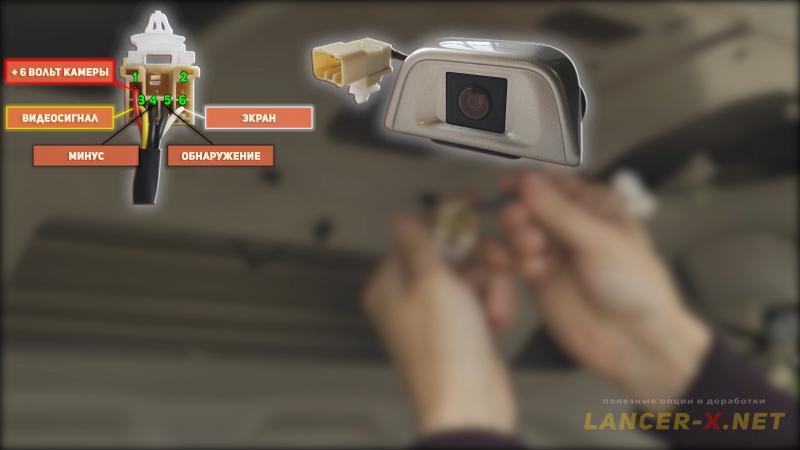 There are 5 wires that lead from the camera connector, the pinning of the wires is as follows:
-pin 1 (red), it is plus 6,5 V of the camera.
-pin 3 (yellow), it is the camera's video signal.
-pin 4 (black), it is camera's minus.
-pin 5 (black), it is a detection of the camera.
-pin 6 (white), it is a screen of the video signal.
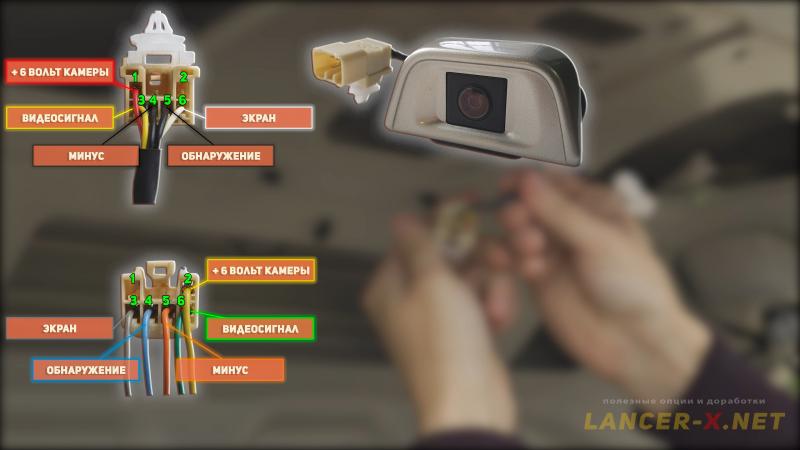 When we connect to the camera the response connector (F-28) of the wiring to the camera's connector on the trunk, the wires colours will not change:
-pin 2 (yellow), it is supply plus 6.5 V.
-pin 3 (grey), it is a screen of the video signal (minus of the RCA connector).
-pin 4 (blue), it is camera's detection.
-pin 5 (orange), it is supply camera's minus.
-pin 6 (green), it is the camera's video signal (plus of the RCA connector).
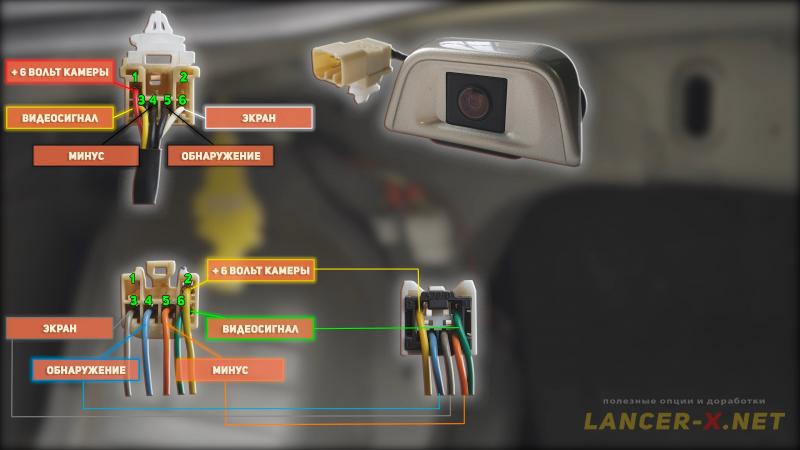 Lay wires along the standard wiring from the camera, through the corrugation up to left rear arch from the trunk side, the wires colour on that connector (D-39 connector) will remain the same, but we just change their position a little.
 Unfortunately, I have not found the response connector to the D-39 connector of the camera's wiring, which we have led on the left rear fender. That is why I will remove this connector and install the door connector c-126 or c-112, I have got some from the donor wiring. But you can install another connector, which will be available.
 And now we need to lay 5 wires from this D-39 connector up to the car stereo along the standard wiring, but I do not have exactly this wiring, I will make it myself.
Реклама. ООО "АЛИБАБА.КОМ (РУ)", ИНН 7703380158
Connection of the rear view camera on Mitsubishi Lancer X
Let us look at 3 variants of the connection, depending on the camera and car stereo types:
1. Connection of the standard rear view camera to the standard car stereo.
2. Connection of the standard rear view camera to the non-standard car stereo.
3. Connection of the non-standard rear view camera to the non-standard car stereo.
Connection of the standard rear view camera to the standard car stereo
 If one connects everything standard, then on before restyling Lancer X (before 2011 year made), if you have the simple car stereo without display, there will be the c-133 connector, wound to the car stereo wiring, where it is necessary to connect 5 wires from the camera.
 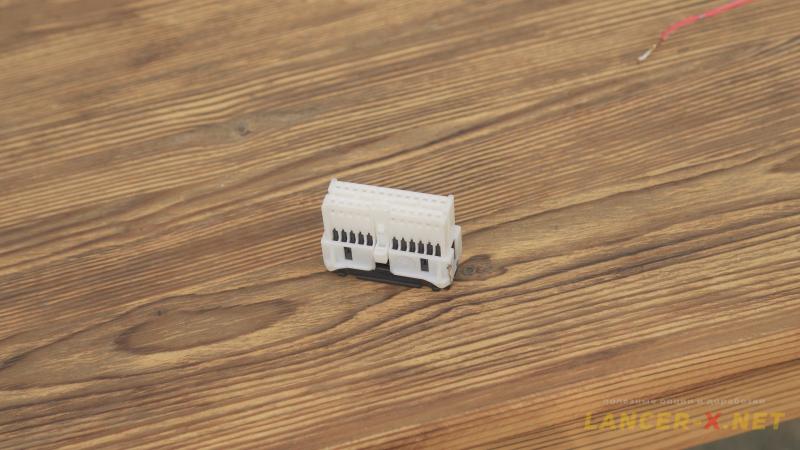 On restyled Lancer X, this connector is absent, one has to restore it. But there the door connector c-126 or c-112 helps us again, its response part is ideal for the c-133 connector role.
 Connect wires from the camera in the c-133 connector as follows:
-pin 7 (green), it is the camera's video signal (or plus of RCA connector).
-pin 8 (yellow), camera's supply, plus 6.5 V.
-pin 19 (orange), also the supply, camera's minus.
-pin 20 (grey), screen of the video signal (or minus of the RCA connector).
-pin 21 (blue), camera's detection.
Connection of the standard rear view camera to the non-standard car stereo
 If you connect the standard rear view camera on Mitsubishi Lancer X to the non-standard car stereo, then the first and very important is that the standard camera operates not from 12 V, but from 6.5 V, that is why it shall be connected through the lowering constant-voltage.
Реклама. ООО "АЛИБАБА.КОМ (РУ)", ИНН 7703380158
Connection:
- it is possible to take the supply of the standard camera from backup lamps, or pin 2 connector c-311 of ETACS unit, or on restyled Lancer X, connector c-133, pin 23. Connect through the lowering constant-voltage regulator, the camera is supplied from 6.5 V!!!
- you can take minus from the car's body.
- wire of camera's video signal is a plus of RCA connector.
- wire of camera's screen is minus of RCA connector.
- close the wire of camera's detection on camera's minus.
Some modern car stereos support the rear view camera connection, i.e it is possible to take plus from the car stereo outputs (all the same, it is necessary to connect the standard camera through the lowering regulator), minus, as well as connect the wire to the stereo car, on which the 12 V appears during reverse gear engaging. The car stereo will switch-on the camera itself during reverse gear engaging. Read the instruction for the car stereo.
Connection of the non-standard rear view camera to the non-standard car stereo
It is the same as in the previous point, except that in many cases the non-standard rear view cameras operates from 12 V, but not 6.5 as a standard one. Also, there is no wire of camera's detection on the non-standard cameras, that is why the connection is as follows:
- it is possible to take the supply of 12 V of the non-standard camera from backup lamps, or pin 2 connector c-311 of ETACS unit, or on before restyling Lancer X, connector c-133, pin 23.
- you can take minus from the car's body.
- wire of camera's video signal is a plus of RCA connector.
- wire of camera's screen is minus of RCA connector.
Some modern car stereos support the rear view camera connection, i.e it is possible to take plus 12 V and minus from the car stereo outputs. Read the instruction for the car stereo.
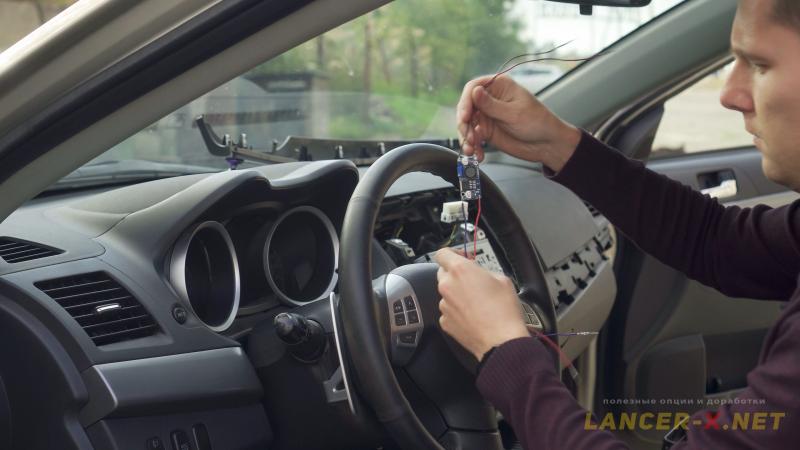
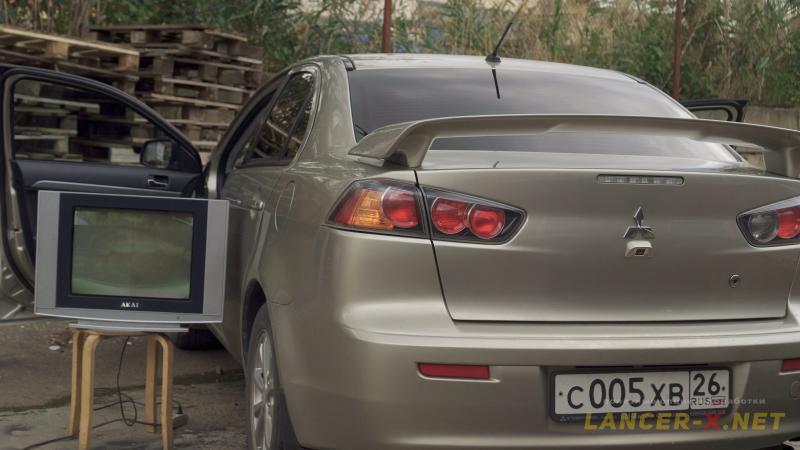 Unfortunately, I have the simple car stereo yet, without a display. That is why, in order to check the standard rear view camera, I connected the camera to the car through the lowering regulator by applying the voltage of 6.5 V. I closed the wire of camera detection on camera's minus and connected the RCA connector to the simple TV set. And everything began to operate.
In the nearest future, I plan to install the car stereo with a display, now I am choosing from 4 variants: standard car stereo MMCS, Pioneer, Mitsubishi Connect with an adapter from Nikolai.
Video instruction of rear view camera connection on Mitsubishi Lancer X
[media=https://www.youtube.com/watch?v=8cG0KRSWOck]
Related links: