Useful information about Mitsubishi Lancer X
Lighting of sun visors mirrors
Let us install the lighting in sun visors with automatic switching-on and off.

Lancer-X.net
Unfortunately, I do not have such option, as lighting of sun visors mirrors in my car. I had this lighting in all my cars and have got accustomed myself to it. That is why I have decided to implement it.
Using the example of my car, many Mitsubishi Lancer 10 owners usually install lighting ceiling lamp in the ceiling above the sun visors. For example, from Hyundai (92891 3S000TX, 92892 3S000TX) given ceiling lamps are switched on and off by the button.
But in my opinion, given method has one substantial defect, when you switch on it, it begins to shine on your head but not on your face and such lighting loses its point. And one needs to switch on this lighting manually.
That is why let us make the lighting, which will shine exactly in the face, and switched on and off fully automatically.
For your convenience, there will be 2 variants of the instruction: the text one and video in the end.
To implement the lighting of sun visors mirrors we will need the following components:
3. Gerkon CAM - 3A - 2 pcs: bought in the radio shop.
4. Magnet - 2 pcs.: extracted from old hard disk.
7. If you have Lancer 10. Original jack for connector of additional ETACS equipment, you can find it at Lancers dismantling.
8. Organic glass milky 3 mm.: took cuttings in ad agency.
9. Wires.
10. Heat shrink.
Реклама. ООО "АЛИБАБА.КОМ (РУ)", ИНН 7703380158
 To begin with, let us lay the wiring to sun visors lighting connection. In many cars you can energise from the ceiling lamp, jumper etc, and take minus on the car's body.
But it is better not to connect to the ceiling lamp in my Lancer X. It is all about ETACS unit, which does not allow the car to "sleep" after taking the keys out due to increase additional load. It will lead to current leak and batteries discharge. That was checked personally.
 In Lancer X, there is a special connector for additional equipment connection in ETACS unit. It is very convenient, one can get there 12 constant volt, 12 V when switching-on the ACC and 12 V when switching-on the marker lights. It is convenient and practicable.
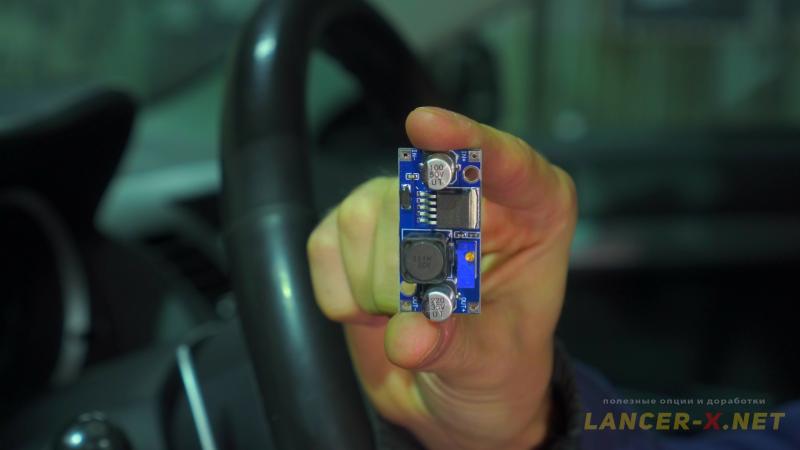
 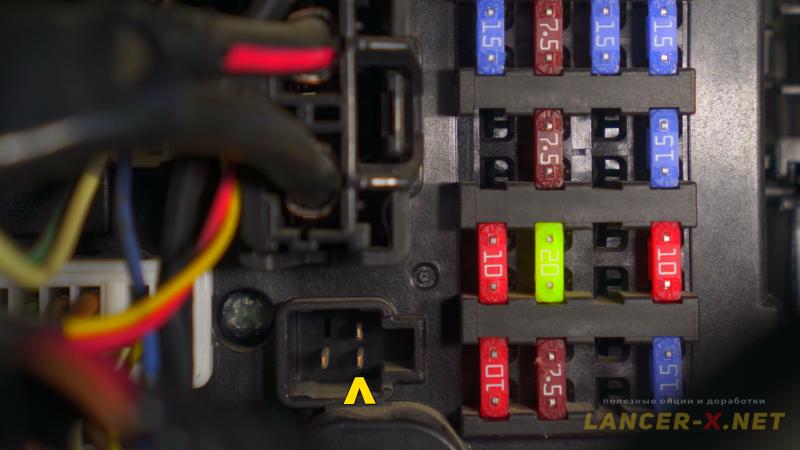 We will connect in this connector, adding the constant-voltage regulator in the breaking, which is set on 10-11 V in order our LED strip in the sun visors serves for many years.
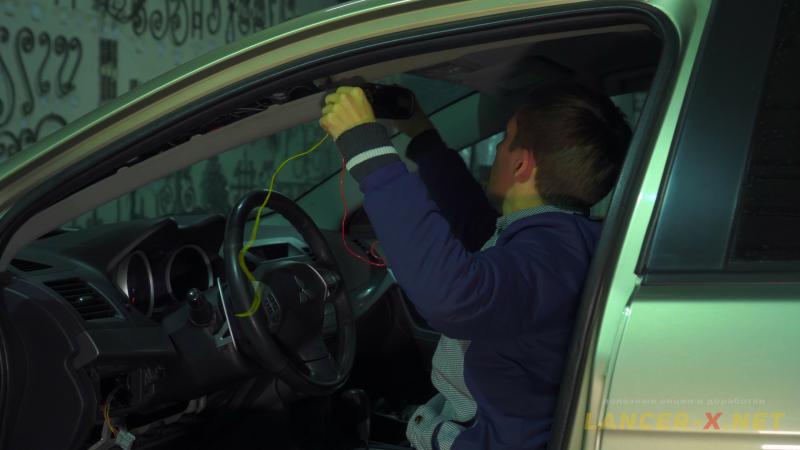 Lead wires from ETACS unit along left rack to the left and right sun visors.
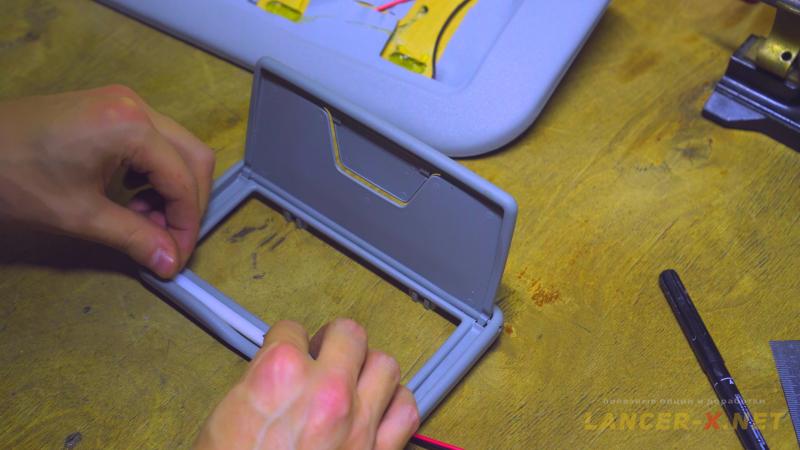
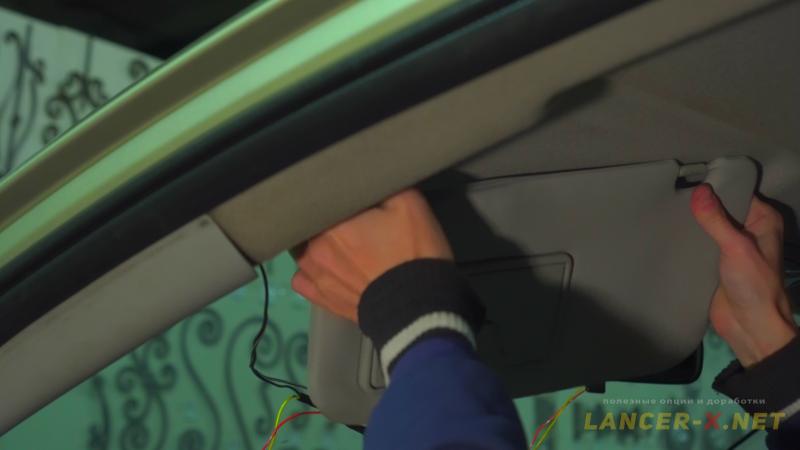 Next remove visors and dismantle the mirror elements.
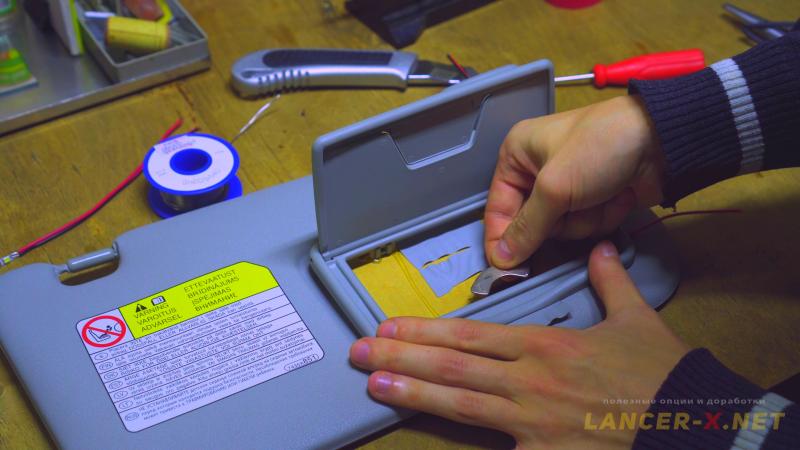
In my case, there are cavities in the visor substrate, where the special adhesive is filled and 4 eyelets of plastic base with mirror are put into these grooves.
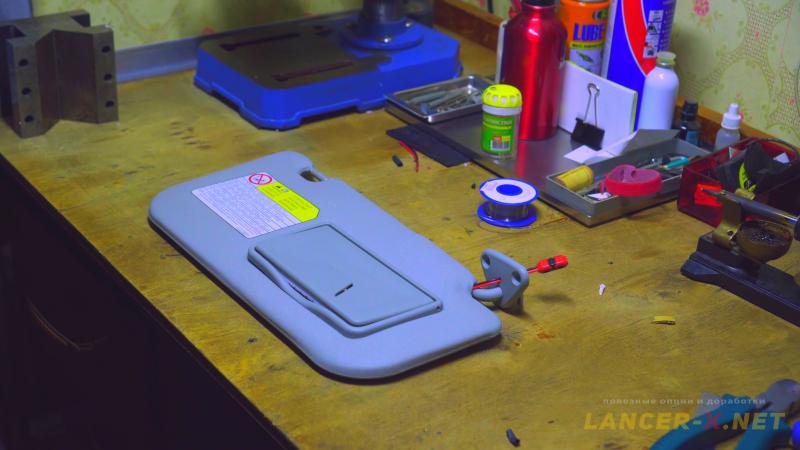
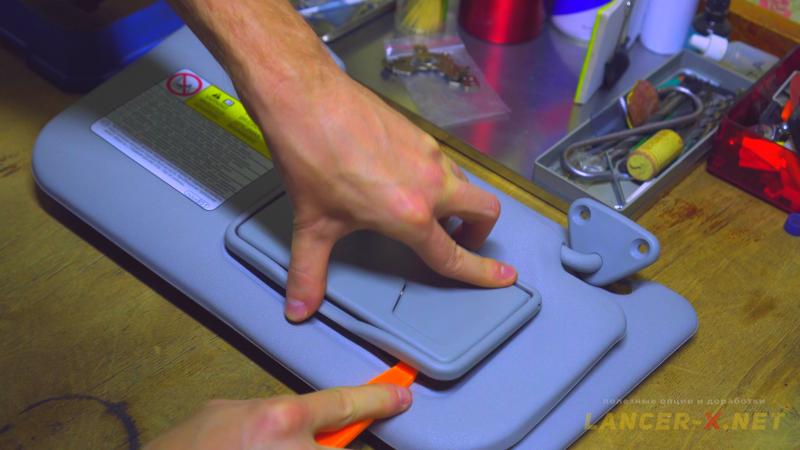 By the way, this adhesive after drying looks like plastic, that is why I take the special remover and using it unlatch carefully the eyelets of mirror base, all are removed quite easy. The advantage of this system is that it is not necessary to re-glue the base with mirror, we will just put them back in the visor substrate in the end.
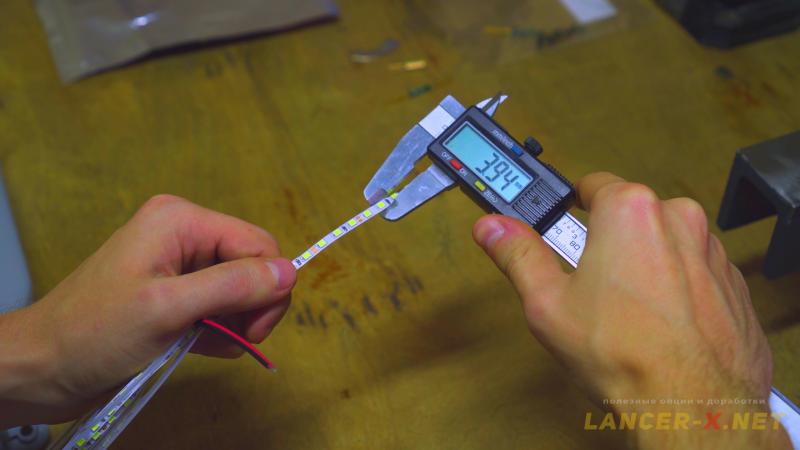 The LED strip 2835 we will install in the special cavity lower the mirror, I have specially chosen the strip, that is used for monitor displays lighting, it is thin and bright enough and it needs 12 V.
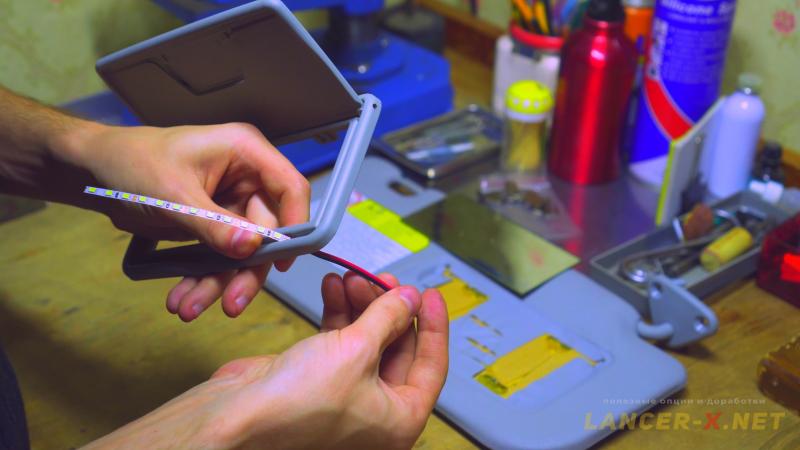 Make the hole for wires, lay wires and try the strip.
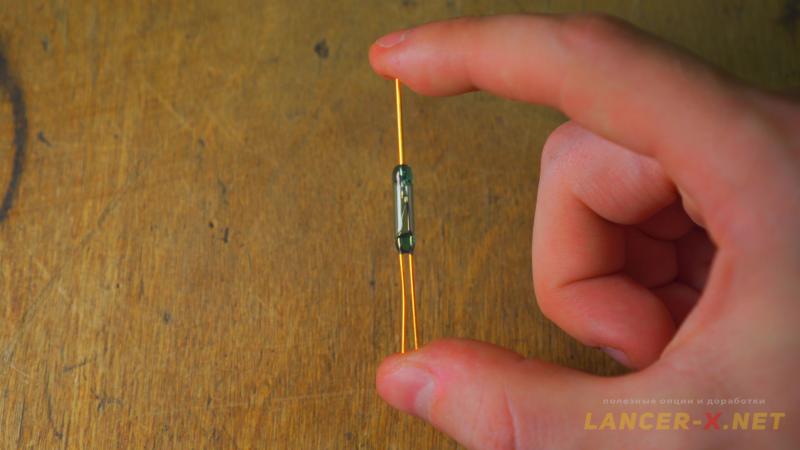 Now add in the breaking of plus wire between LED strip and supply the Gerkon CAM - 3A, that will be disconnected from the magnet. Fasten Gerkon in the sun visor substrate.
Fasten the magnet (better neodymium, more powerful) using the double-sided adhesive tape on the cover base, in which mirrors are situated.
 It is necessary to locate the magnet and Gerkon in such a way, that during cover closing, the magnet, fastened on it, combines with Gerkon, thereby disconnecting the Gerkon, causing the lighting automatic switching-off.
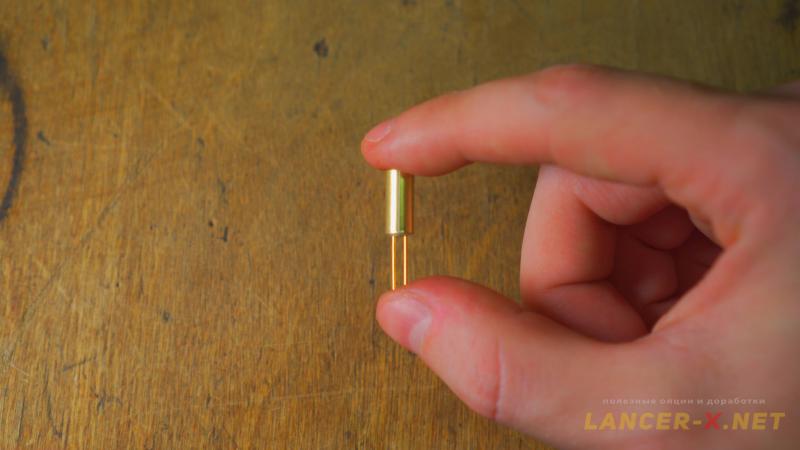 Also we will install the position detector with metal ball inside it, just for case to have the possibility to switch-off the lighting if the magnet unglue.
 The nature of its operation is when the visor is open, the ball closes a contact and power supplies further, when the visor is closed, the ball rolls away and stops to close a contact, the power is no longer supplied.
I.e in the closing position the voltage won't be supplied for sun visor lighting, the position detector will lock it. This is an additional protection.
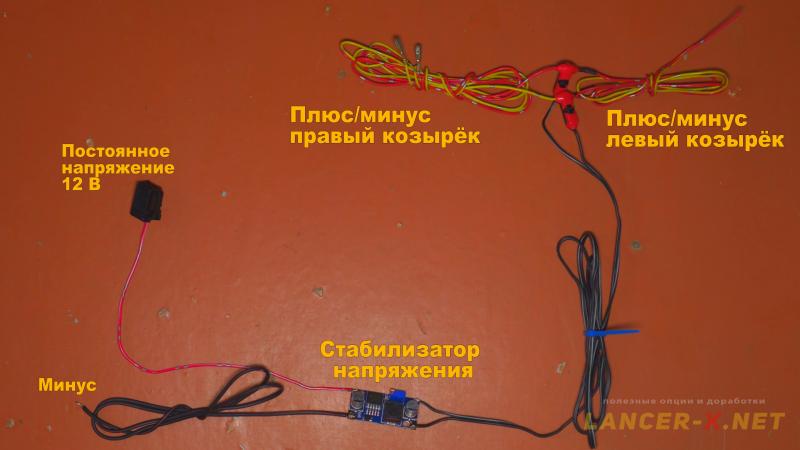
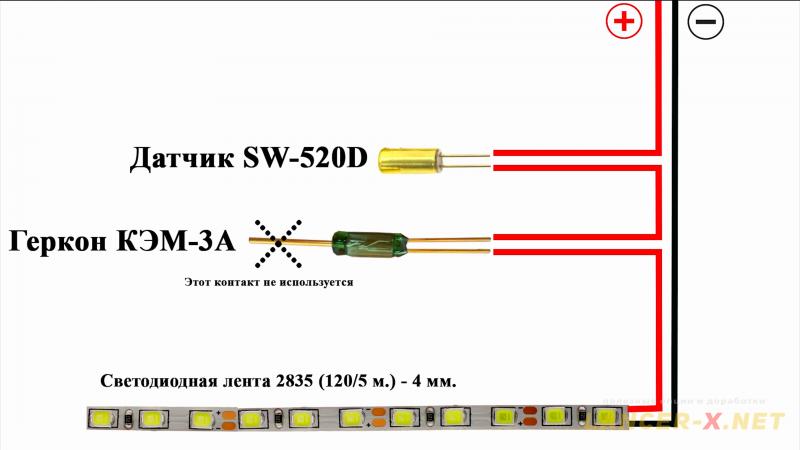 The connection scheme are as follows.
For the purpose to make everything perfect, I took the cuttings of milky organic glass of 3 mm in the ad agency.
I ground them to the size of LED strip, made cavities for LEDs and 2 holes for screws. And fastened all of it above the LED strip, the result is very qualitative, just as from the factory.
 The advantage is that the given organic glass serves as a diffuser, hiding the LEDs and diffuse light.
Next solder all, isolate all contacts with heat shrink, carefully lay wires along the inner sun visor outline. And mount the visors.
 Put compression terminals on the wire outputs and using them we will connect with wires on the car.
Install visors in the car, connect. I set the constant-voltage regulator on 11 V.
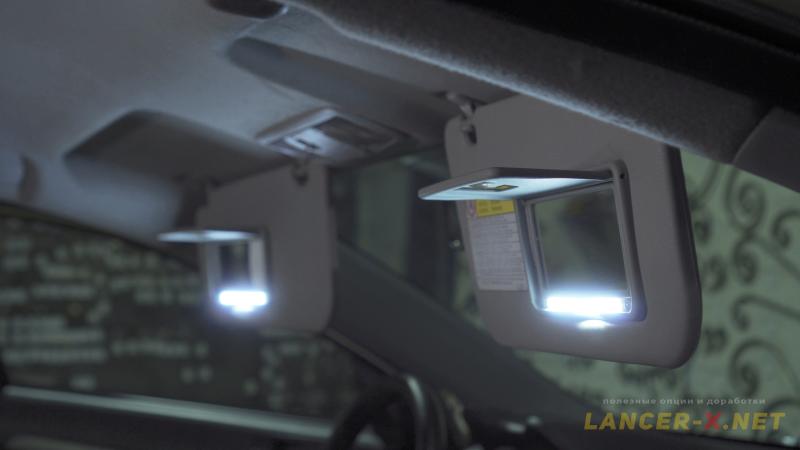
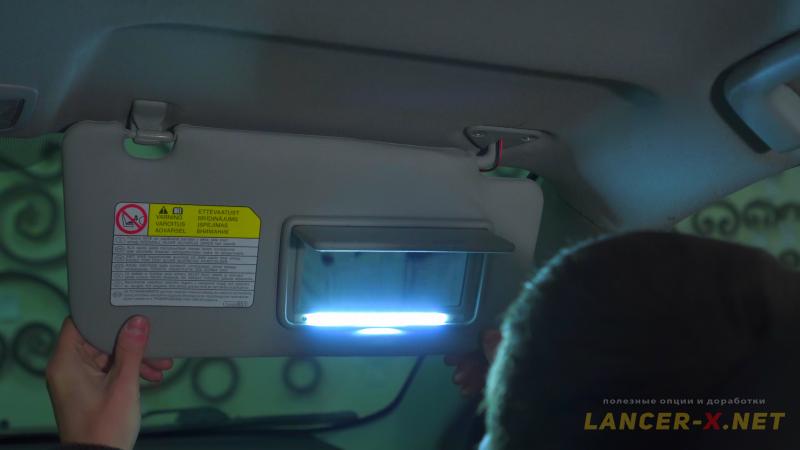 And now, when opening the cover, lighting switches on automatically, and when closing the cover, automatically switches off.
In the closing position the power is not supplied on the sun visor.
And it goes without saying that the visor saved all its functions, i.e opens in all provided positions.
Video instruction for installation of sun visors mirrors lighting.
Related links: